Note: This is one part of a two part series, based on a recent road trip through Arizona and Utah. I will reference Arizona throughout this, and discuss the trip as a whole along with focusing on Utah specifically.
Arizona is a desert climate, characterized by blistering heat and sun on most days, particularly in the summer and spring. Here you will see little in the form of precipitation, and whatever little moisture forms is quickly soaked up by the parched ground. The days get very hot, sometimes well over 100 degrees Fahrenheit. Nights are the opposite, and can get very cold very fast. Temperatures, especially in northern Arizona, can and will get to below freezing during the evenings.
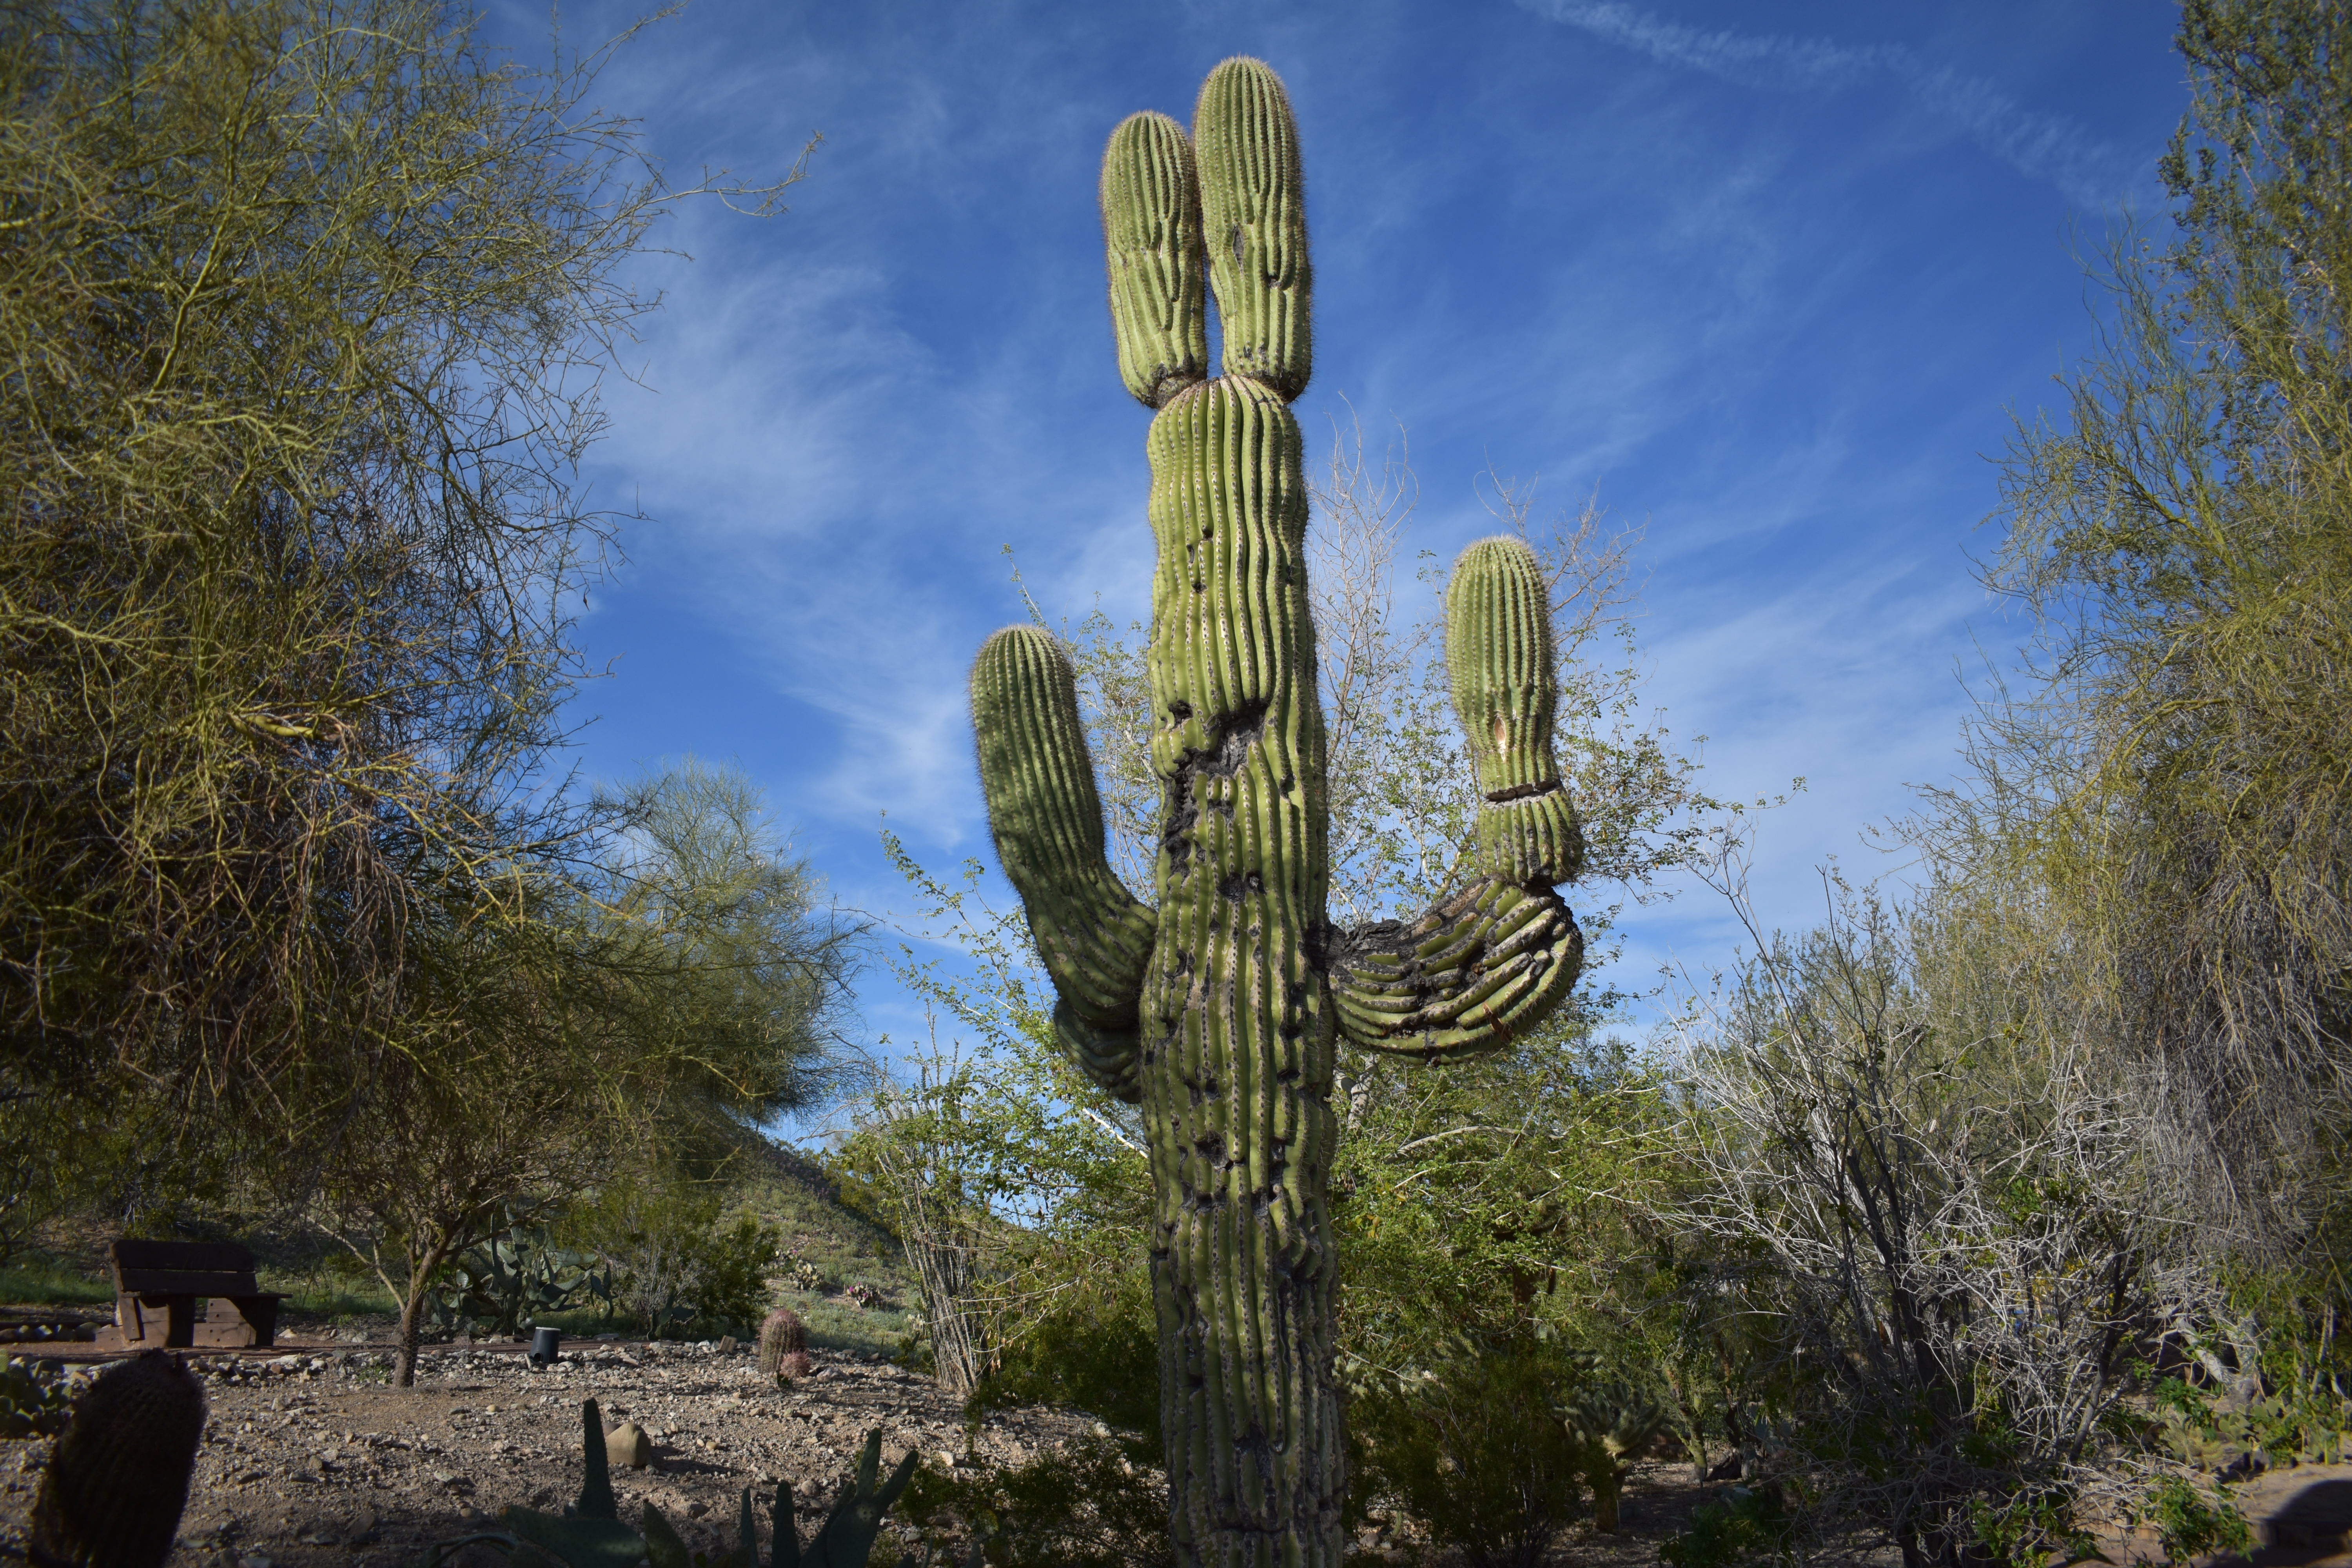
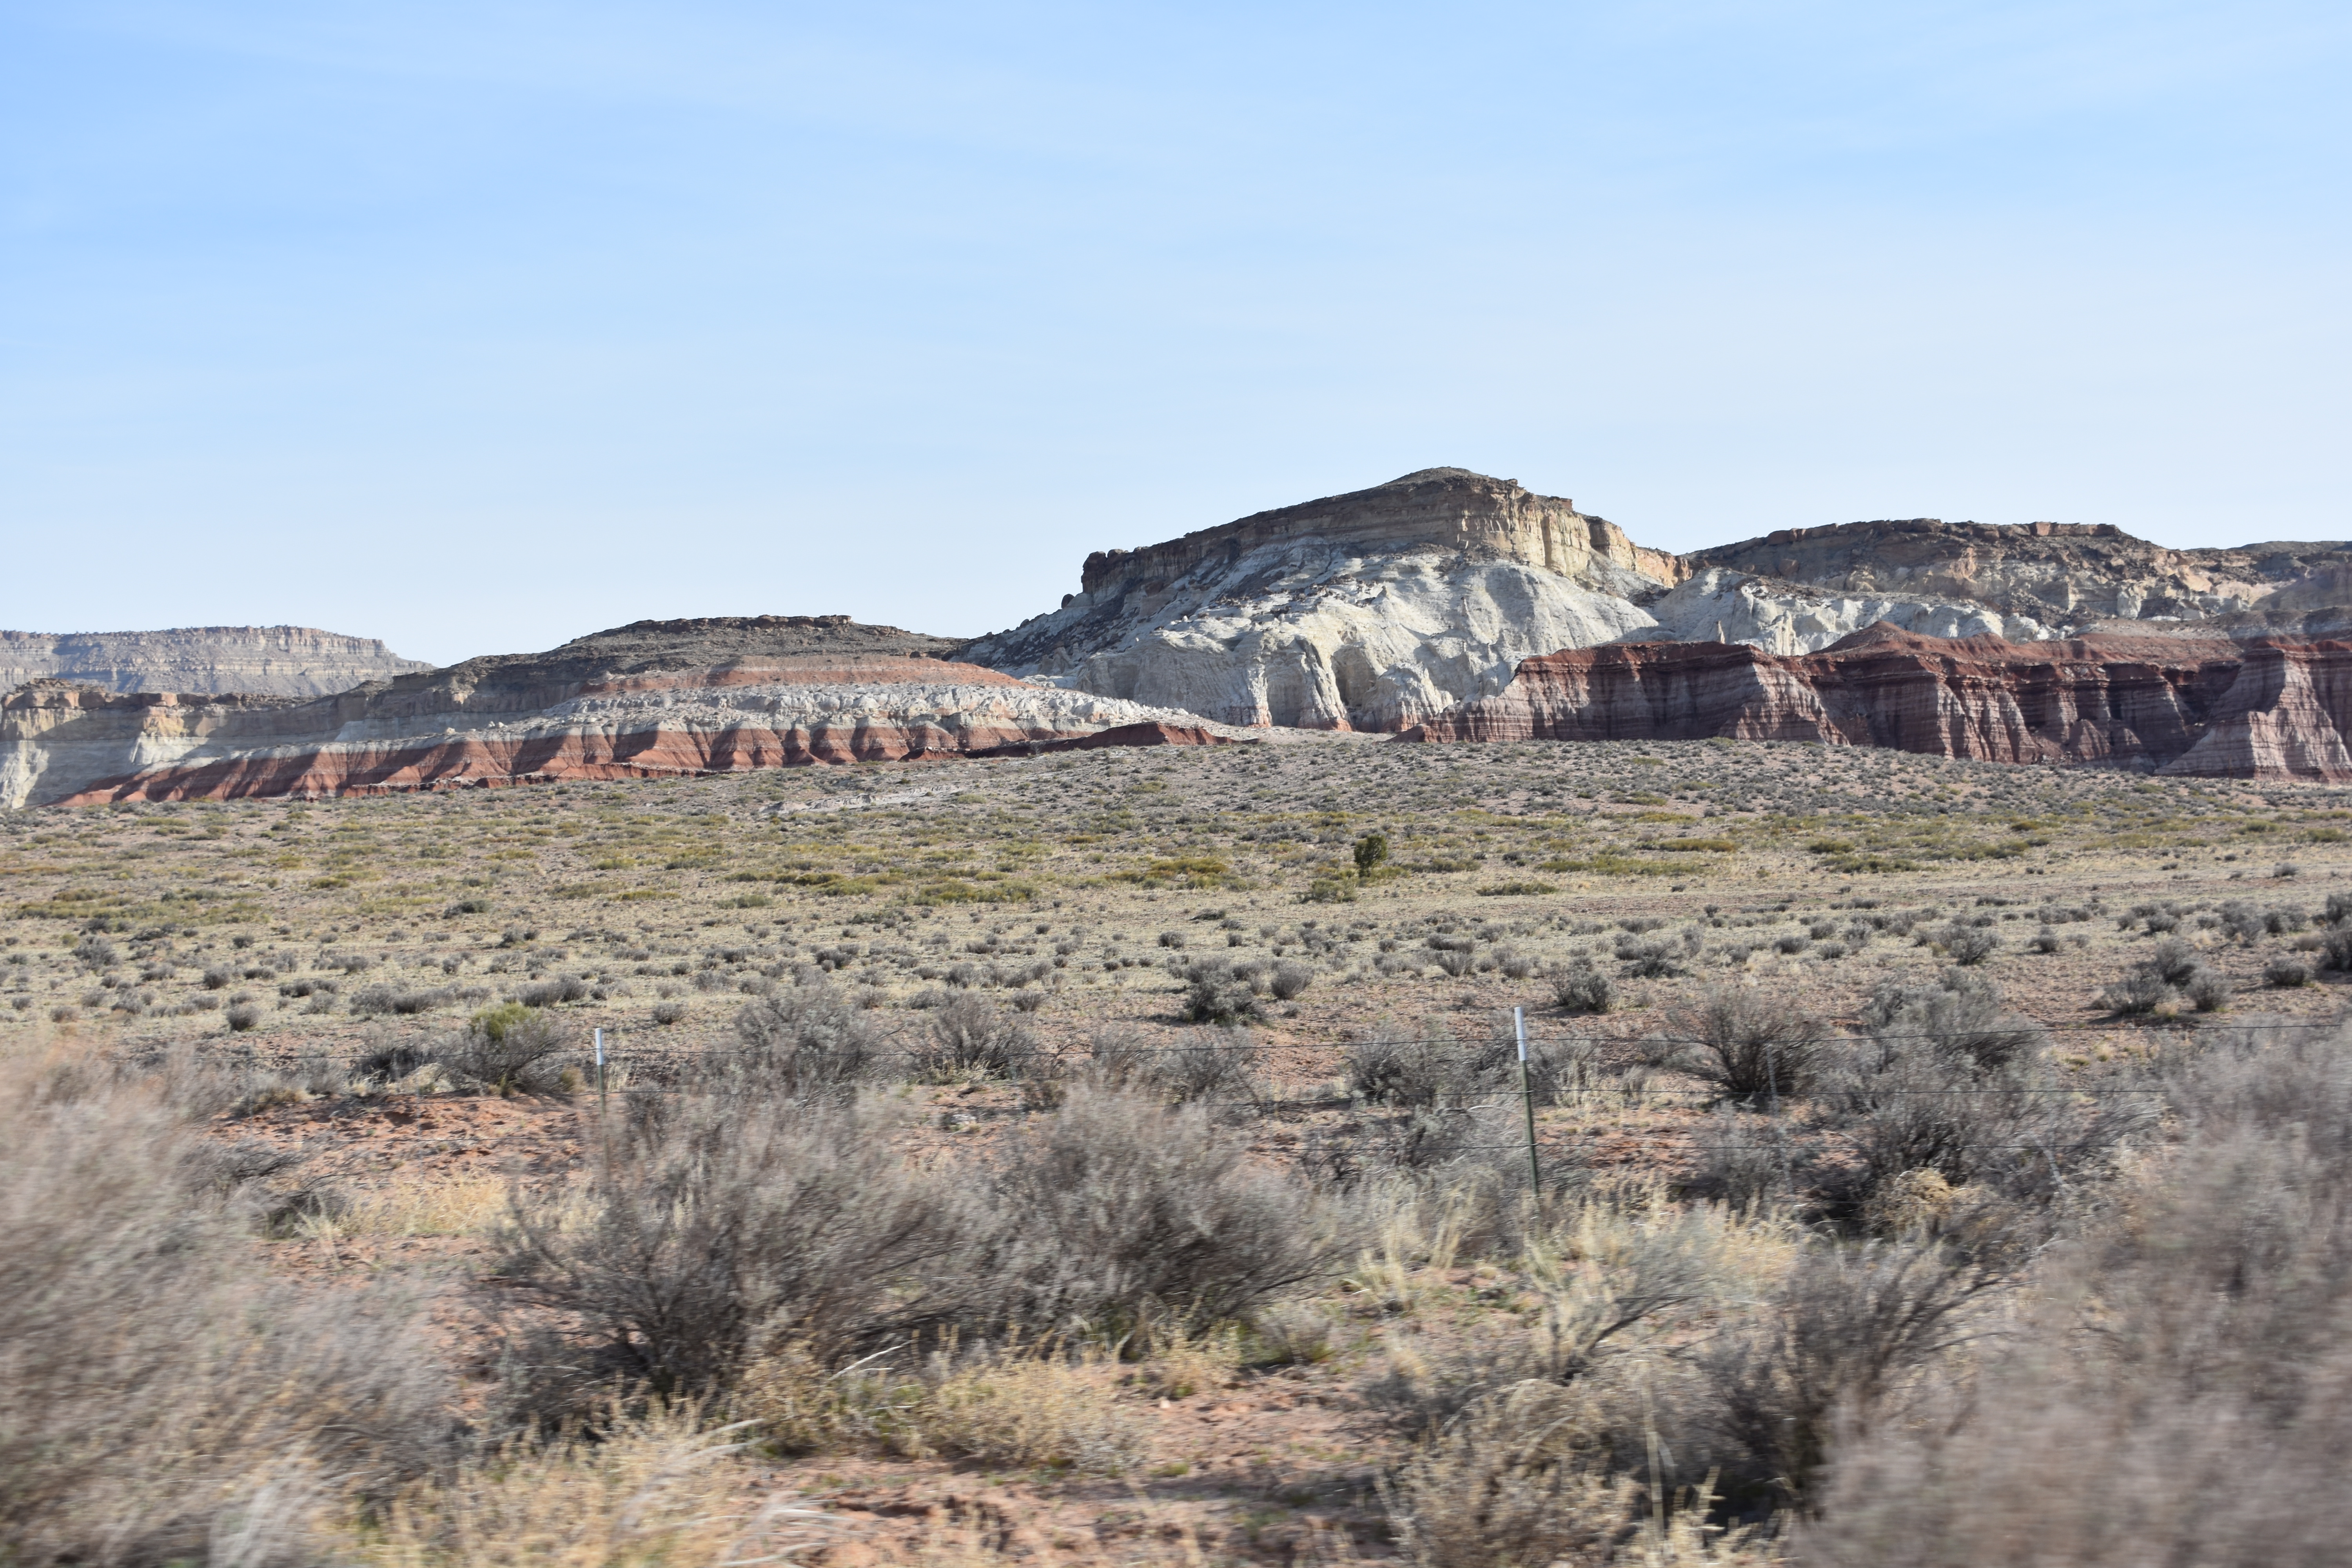
The environment is characterized by reddish dirt and sand. You will see cacti littering the ground with little other growth until you hit the northern portion of the state (here you may see some smaller trees, particularly in the grand canyon area). Southern Arizona can be described as flat, whereas the northern region of the state is broken up by far off mountains and beautiful red monoliths.
What to Pack
To look at an in depth list of clothing items to bring, refer to my previous blog called Camping Utah- USA This list may seem extensive, but we actually used nearly everything on this list. One thing I will note is that unless you are planning on coming during the peak of summer, or are only going to be staying in the southern portion of the state, PLAN FOR COLD. This not only goes for your clothing, but what you pack for camping gear as well. People are generally unprepared, since they view Arizona as a warm state with no possibility for cold. This belief is wrong. Make sure to have a 20 degree Fahrenheit or under sleeping bag (especially if visiting the Grand Canyon). Bring plenty of blankets, and use either a pad or an air mattress to get you off of the ground. Bring a canopy in case of snow or rain, and make sure to have a backup plan in case it gets too cold for you to sleep outside. https://docs.google.com/document/d/1LiDnEKhH1-38GfM2vZWk1pAahPR2-_sFMQSUccGdTOg/edit?usp=sharing
REGIONS
Note: During our trip we visited only the Western, Central, and Grand Canyon region. So those will be the regions I discuss here.
Lake Havasu Gardens
Western Arizona is much of what I expected when planning our trip. Small, bristled bushes and cacti speckle the dry and cracked ground. It was sunny all day, and fairly warm throughout the night. We hung out here in Lake Havasu, which is a great place to visit for water sports and fishing.
Central Arizona is much like Western Arizona, with dry and arid weather. Flagstaff is contained in this region, as well as some smaller, more charming towns that are exciting places to visit. Towards the northern region, as you reach the region of the grand canyon, you may even begin to see snow and feel the chill of colder winds.
Grand Canyon at Sunset
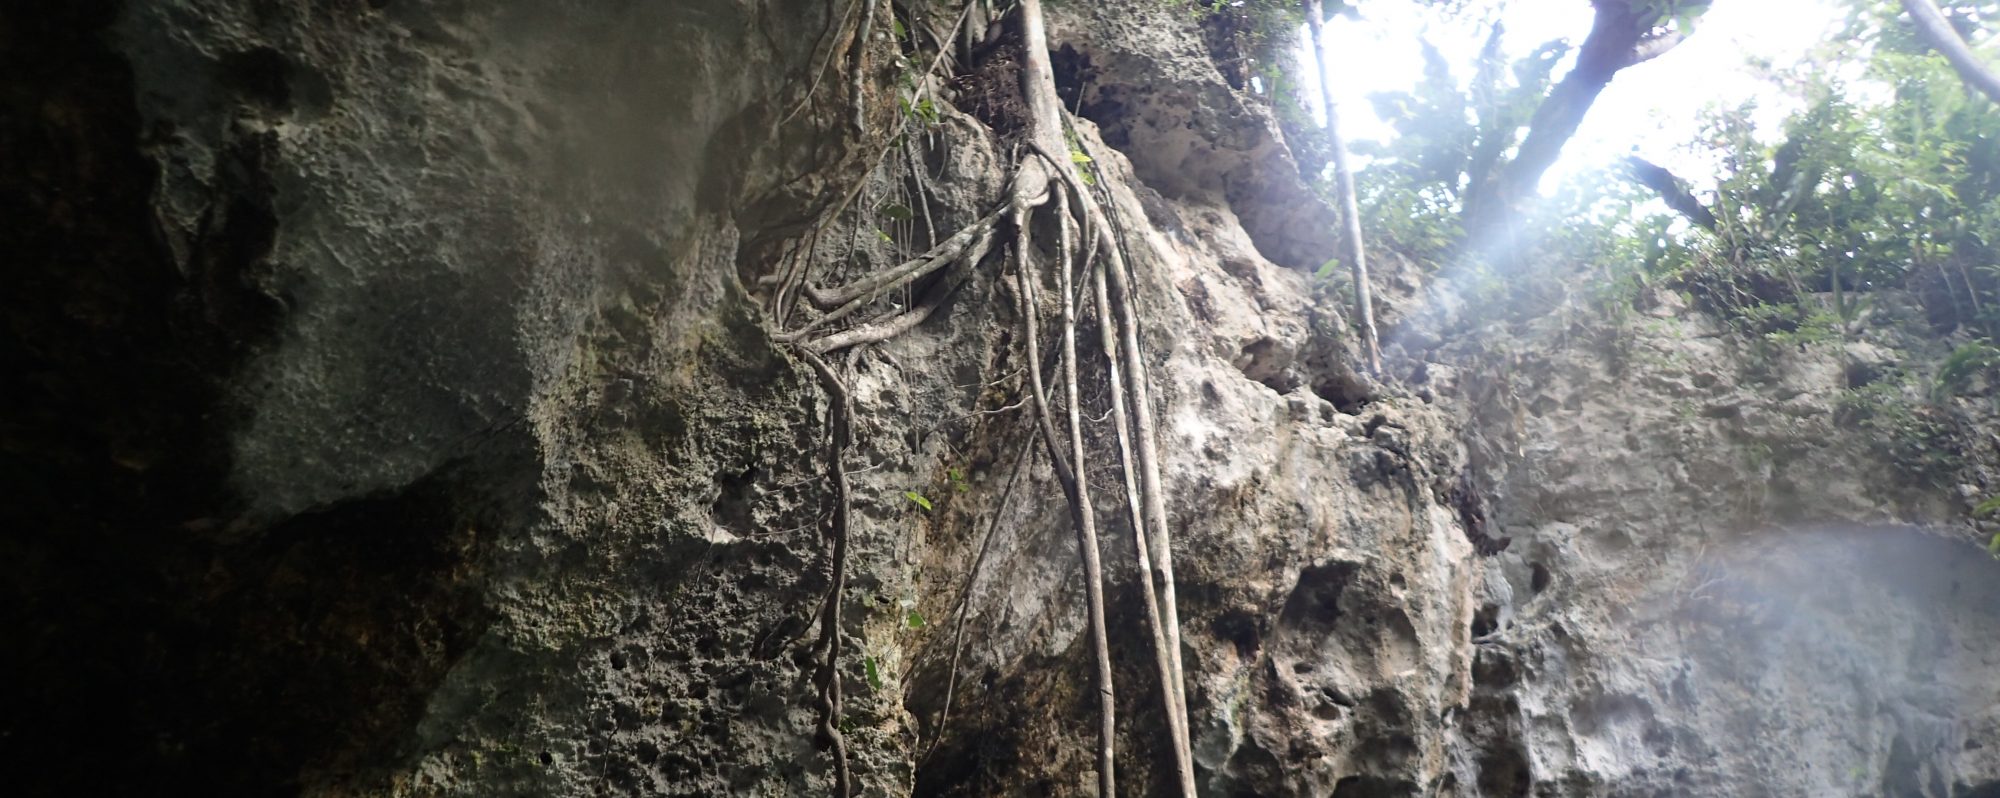
Once you reach the Grand Canyon region, you may be shocked by the amount of large trees surrounding you. You may even see snow – we did in April. These conditions surprise most people, so don’t come unprepared. Elk and other larger animals may even be spotted in between the trees. Once you reach the actual canyon, you may be awestruck by its massiveness – but I’ll leave that for later.
Culture Shocks
If you pass through the Navajo region of Arizona, you may get to see first hand some of the differences between native culture and European-American culture. You may even note some of the poverty in these regions, so it is good to be aware when you are passing through Navajo region and maybe understand a bit about their culture as well. Their art and culture has also had lasting influences on the culture of Arizona as well.
Camp Food
Tacos
Ingredients: (Basically whatever you want in tacos) – sour cream – pork (We got a good deal on pork for our trip, and bought over a pound of it. The rest was used later on our trip, in Utah.) – canned corn/beans – onion – sweet peppers – corn tortillas
Cook the pork in some olive oil, and heat up the corn and beans in a pot. Slice the sweet peppers and onions into thin slices and cook in olive oil. Once done, set aside and put your tortillas in the same pan that the pork was in to cook for approx 30 seconds. We cooked a large bunch of this and saved over half for our lunches for the week. We made wraps (using flour tortillas) with pork, sweet peppers, onion, sour cream, and lettuce for lunches and just wrapped them in tin foil for our backpacks. They worked great and tasted delicious!
Steak and Corn
Ingredients: – Ribeye steak – Corn on the cob – romaine lettuce – ranch – cheese
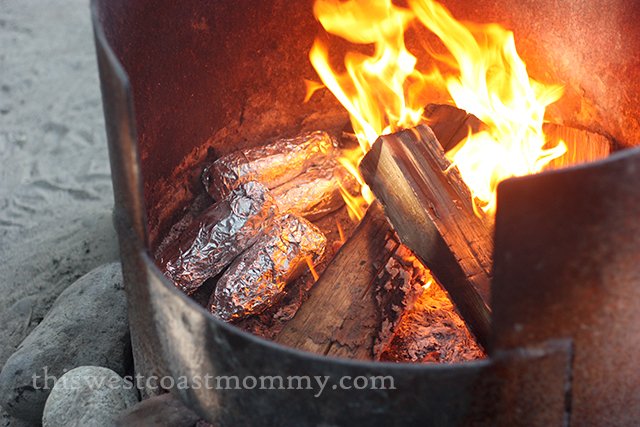
We cooked the ribeye with olive oil, johnny seasoning, garlic salt, steak seasoning, and some meat tenderizer. The corn we wrapped in tin foil with the same seasonings (Minus meat tenderizer). We cooked all of them over the fire. Using leftovers from taco night, we made taco salads as well.
Slice the baby potatoes into quarters, and make sure all veggies are in bite sized pieces. Make a “Bowl” with tinfoil and place veggies, olive oil, and desired seasonings in the “bowl”. Pinch closed to make a veggie packet that is able to be placed on the fire. We used leftovers from the previous night, but if not, cook some steak to go with your veggie packets. Place veggie packets in fire and leave for 20-30 minutes (Until potatoes are soft).
The Road Trip
Day 1-3 are all described in this article. If you are interested in the second half of our trip, take a look at my previous article, “Camping Utah”.
Day 1 – Lake Havasu
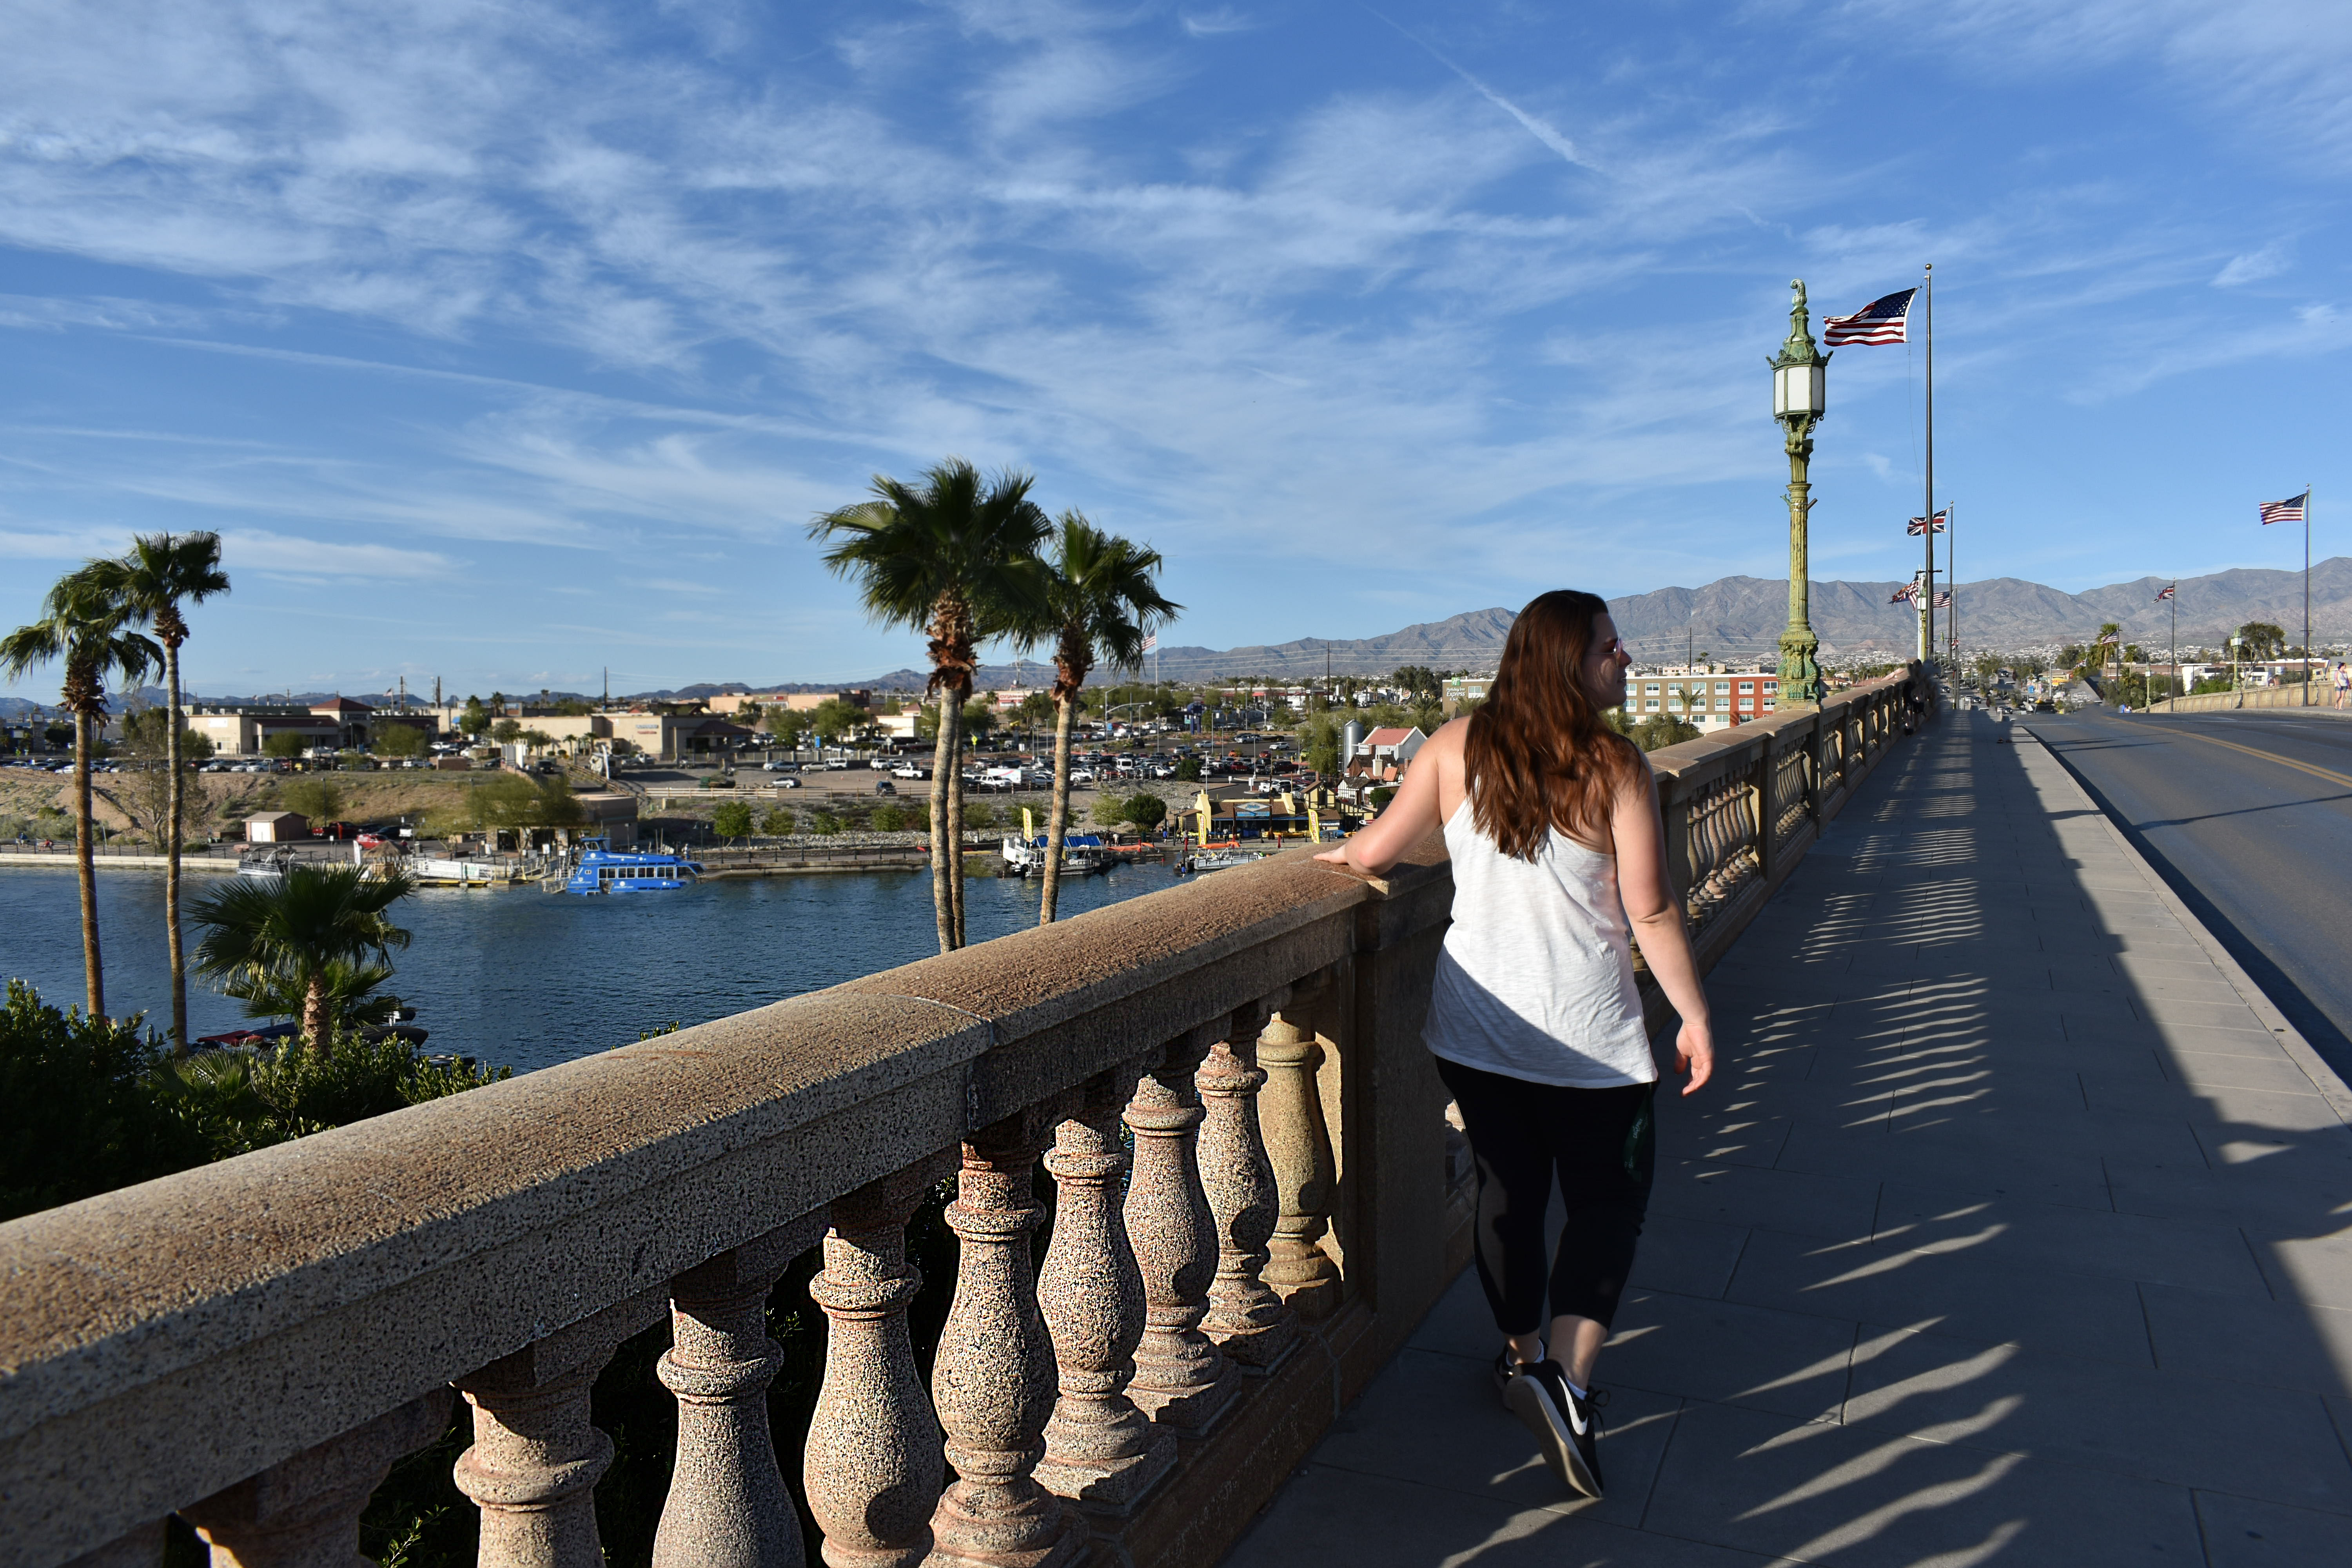
Me walking over the London Bridge
Lake Havasu was more of a pit stop for us on our way to the Grand Canyon (which was determined to be too far of a drive for one day for us). Right near the boarder of California and Arizona, this beautiful town is an oasis in the middle of the desert. Spring break here was lively, with free outdoor concerts and college kids in bikinis wandering the streets. But we spent our time adventuring downtown, visiting the London bridge, and enjoying the beach while suntanning. There was a little bit of something for everyone here, with great fishing, boating, and social atmosphere, as well as fun culture and exciting sightseeing.
We stayed in Lake Havasu State park, right next to the water, and it was perfect. The showers weren’t necessarily fancy but they worked, and thats all you can really ask for. They have picnic tables and fire pits as well. This was the only night of our entire trip that temperatures did not get below freezing.
Day 2 & 3: Grand Canyon
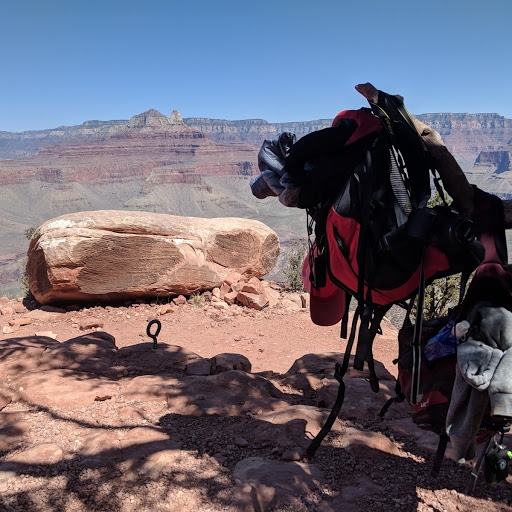
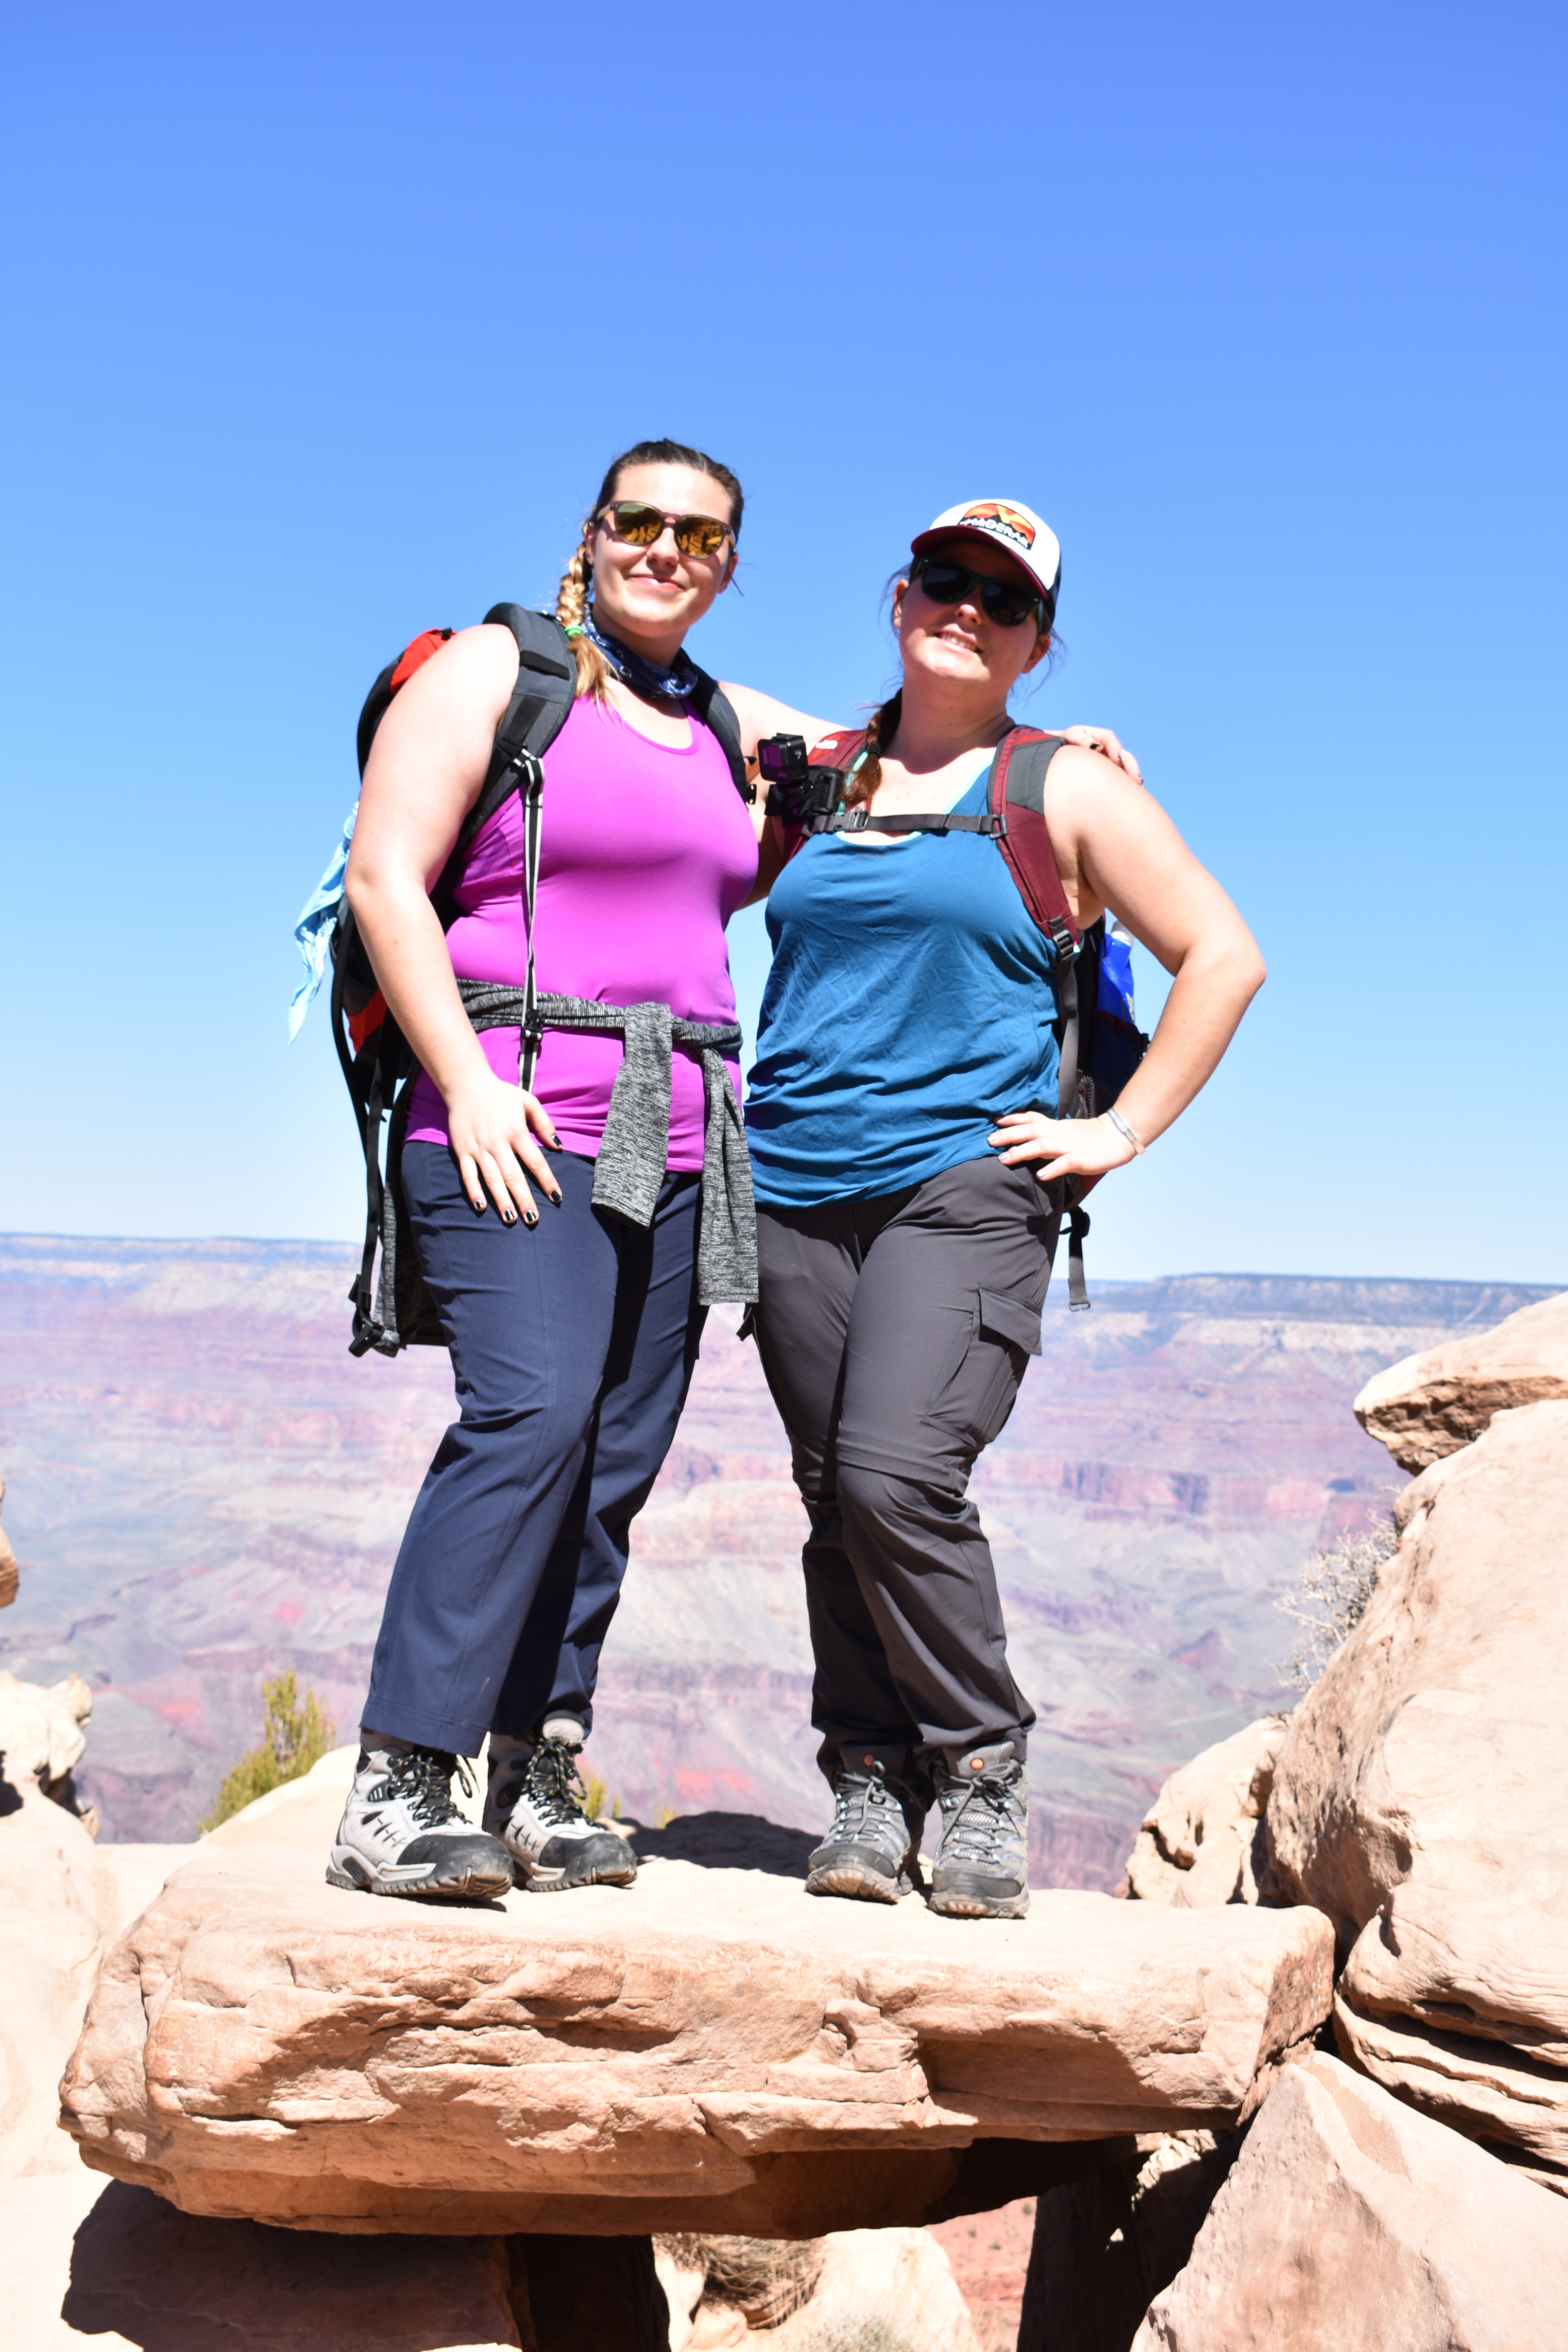
Claire overlooking the Grand Canyon on our hike.
One of the first things we noticed as we approached the Grand Canyon, was the snow. It covered the ground and large evergreens, even in April. Be ready for the cold as you get closer. Luckily, we ordered our pass online before hand and were able to avoid what appeared to be an hour long line. Remember to do this before you head out, or you will regret it!
We stayed in the Mather Campground, which was nestled between evergreens. It had a table and a fire pit. It also has full amenities, including showers and washing units, but they are about a five minute drive away from the campground. To get to the actual canyon, you have to hop on one of the numerous shuttle buses to the main visitors center. Buses appear in less than fifteen minutes at any and all bus stops.
As for the canyon, my travel buddy (Claire) actually started tearing up as we approached it. Beautifully colored cliffs and formations spike out of the dip in the ground. We did the Hermit trail hike, and totaled about six miles. I will admit that we did underestimate how difficult the hike would be. It took over an hour a mile, and even longer coming back up, so if you plan to hike into the canyon make sure you have enough time, food, and water. We each had almost a gallon of water, and had drank all of it by the end of our hike.
I hope you all found this information helpful! Until next time, live free my fellow travel bugs!
Note: This is one part of a two part series, based on a recent road trip through Arizona and Utah. I will reference Arizona throughout this, and discuss the trip as a whole along with focusing on Utah specifically.
Utah is a temperate region, with cold winters and warmer summers. Expect to be able to see snow for the majority of the year (at least on the mountains), and prepare for cold evenings regardless of the time of year. During summer temperatures can get into the 80s (F), with summer going from June through August. Winters, and fall and spring, can go below freezing, particularly at night. We went at the end of march, and temperatures were below freezing every night, regardless of how warm and sunny it was during the day.
Many would say that Utah is a flat state, and though true, it really isn’t giving this gorgeous state due credit. Flat plains are broken by enormous monoliths and cliffs, several thousand feet tall and splashed red as though they were painted. The beautiful canyons, rivers, and cliffs littered throughout the grasslands make Utah not only unique, but absolutely beautiful. Plan to be awestruck at every turn.
What to Pack
I am only going to discuss clothing items here, but for a full list of camping supplies that two people used for a week, here is a link. This list may seem extensive, but we actually used nearly everything on this list. One thing I will note is that unless you are planning on coming to Utah during the peak of summer, PLAN FOR COLD. This not only goes for your clothing, but what you pack for camping gear as well. Every night of our trip was below freezing, and one night it actually snowed on us. Place both a tarp over and under your tent to trap in heat, and either use sleeping bags designed for 20 F or less, or double up on sleeping bags. Bring plenty of blankets, and use either a pad or an air mattress to get you off of the ground. Bring a canopy in case of snow or rain, and make sure to have a backup plan in case it gets too cold for you to sleep outside. We had to make an emergency stop to get two sleeping bags and some emergency blankets because we weren’t prepared. Don’t let it happen to you.
Hiking Pants : A good pair of hiking pants for a trip like this are worth the investment. I think I paid about $30 for mine, and I wore them every day. Make sure they fit well and allow for full range of motion. Also make sure they are quick drying, and a lot of pockets never hurt.
Hiking boots: Hiking boots are an investment as well, with a good pair costing several hundred USD. But, they last decades if you take care of them. Dont go on a weeklong hiking trip without a good pair of hiking boots.
Wicking underwear: The last thing you want is to chafe or be uncomfortable. Make sure to pack moisture wicking underwear, this also goes for your sports bra (if you need one!)
Padded Socks: To go with your trusty hiking boots you need comfortable socks. Make sure to bring thick, tall ones that will protect your feet from blisters.
Bandanas: Although it gets cold at night, it can be very warm during the daytime in Utah. Bandanas or headbands can protect your head or neck from sunburns, so it’s nice to bring one.
Athletic tanktops or T-shirts: I wore tanktops every day. It’s warm, so its a good idea to have moisture wicking shirts that will allow you to be comfortable.
Jacket: If you are doing a longer hike, its better to be prepared for anything. Its better not to chance rain or cold, so make sure to pack some type of jacket just in case things go south.
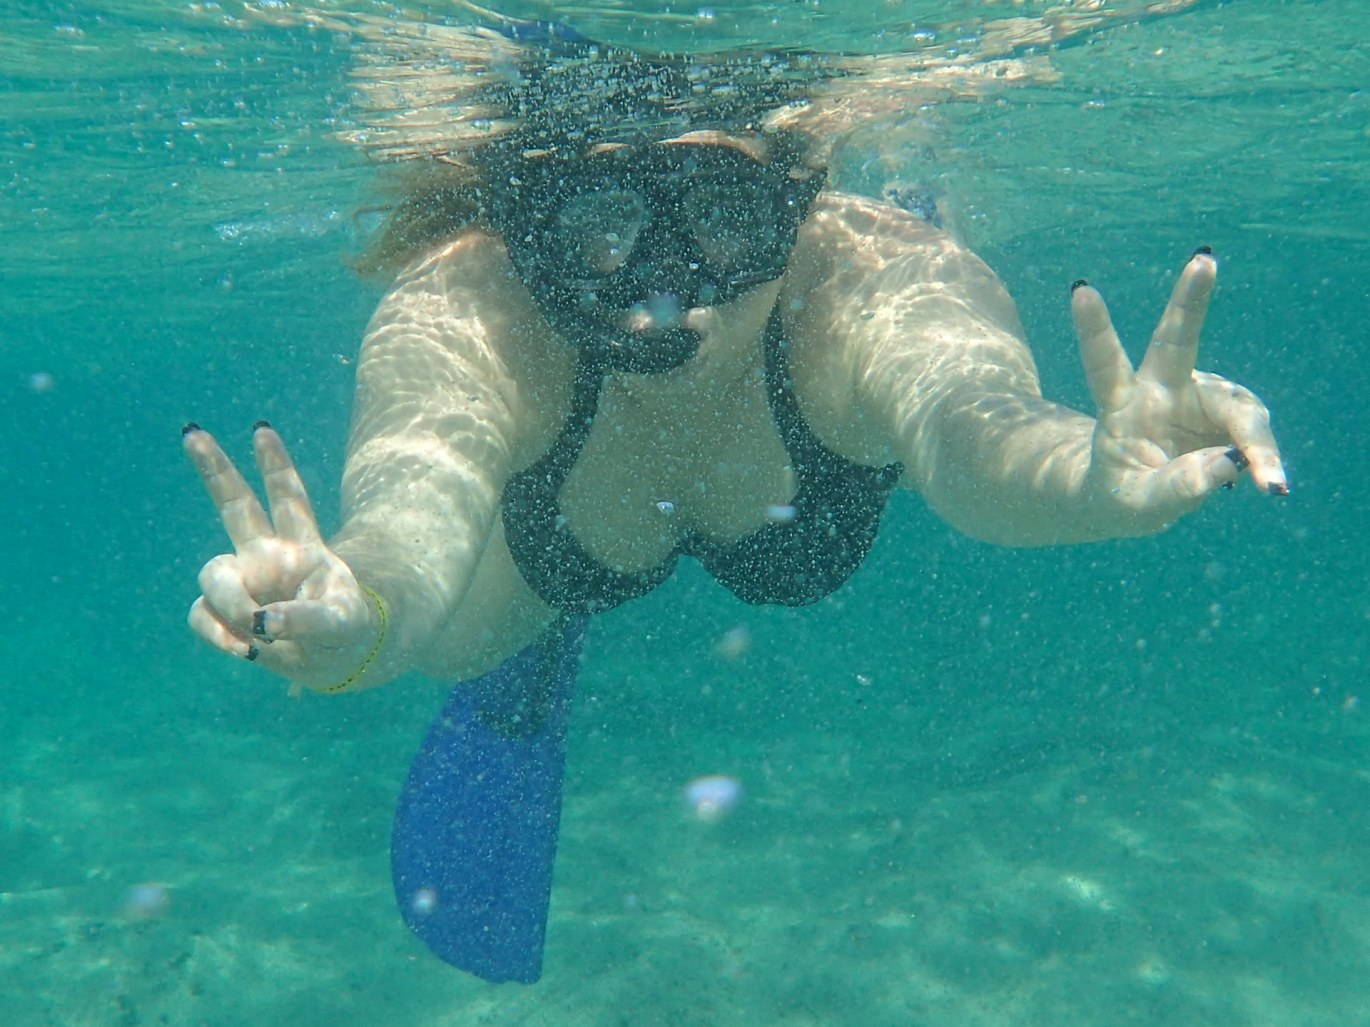
Swimsuit: A lot of the hikes we went on were water hikes, so if you plan on going on any of the hikes I recommend below, prepare to get wet. A towel can be a good idea as well, but if you bring quick drying clothes it shouldn’t be a problem. (after a swim, my pants dried in about 20 minutes!)
Clothes for the Night/Drives
Thermals: It gets cold at night, period. A good pair of thermals to put on under your other layers is essential to keeping warm.
Thick socks: These could be the same as the socks discussed above, but make sure you have thick, long socks that will trap in heat. Possibly put fuzzy socks over the top of regular socks.
Sweatpants: Put a pair or sweatpants or something similar (Something thick) over the top of your thermals.
Long sleeve & Sweatshirt: I wore both a long sleeve and a sweatshirt every night over the top of my thermals. Yes, its that cold.
Ski Mask: Wear one of these in case it gets too cold. To be honest, I wore mine every night. Its a good thing to have.
Gloves: A good pair of thick gloves that you can still perform campground tasks with is essential.
Slippers/Warm Shoes: Bring a pair of comfortable shoes to wear around the campsite. Something warm and easy to put on.
For the drives, just bring comfortable clothes and shoes that are easy to take on and off! I usually ended up in a pair of flip-flops, shorts, and a T-shirt.
Regions
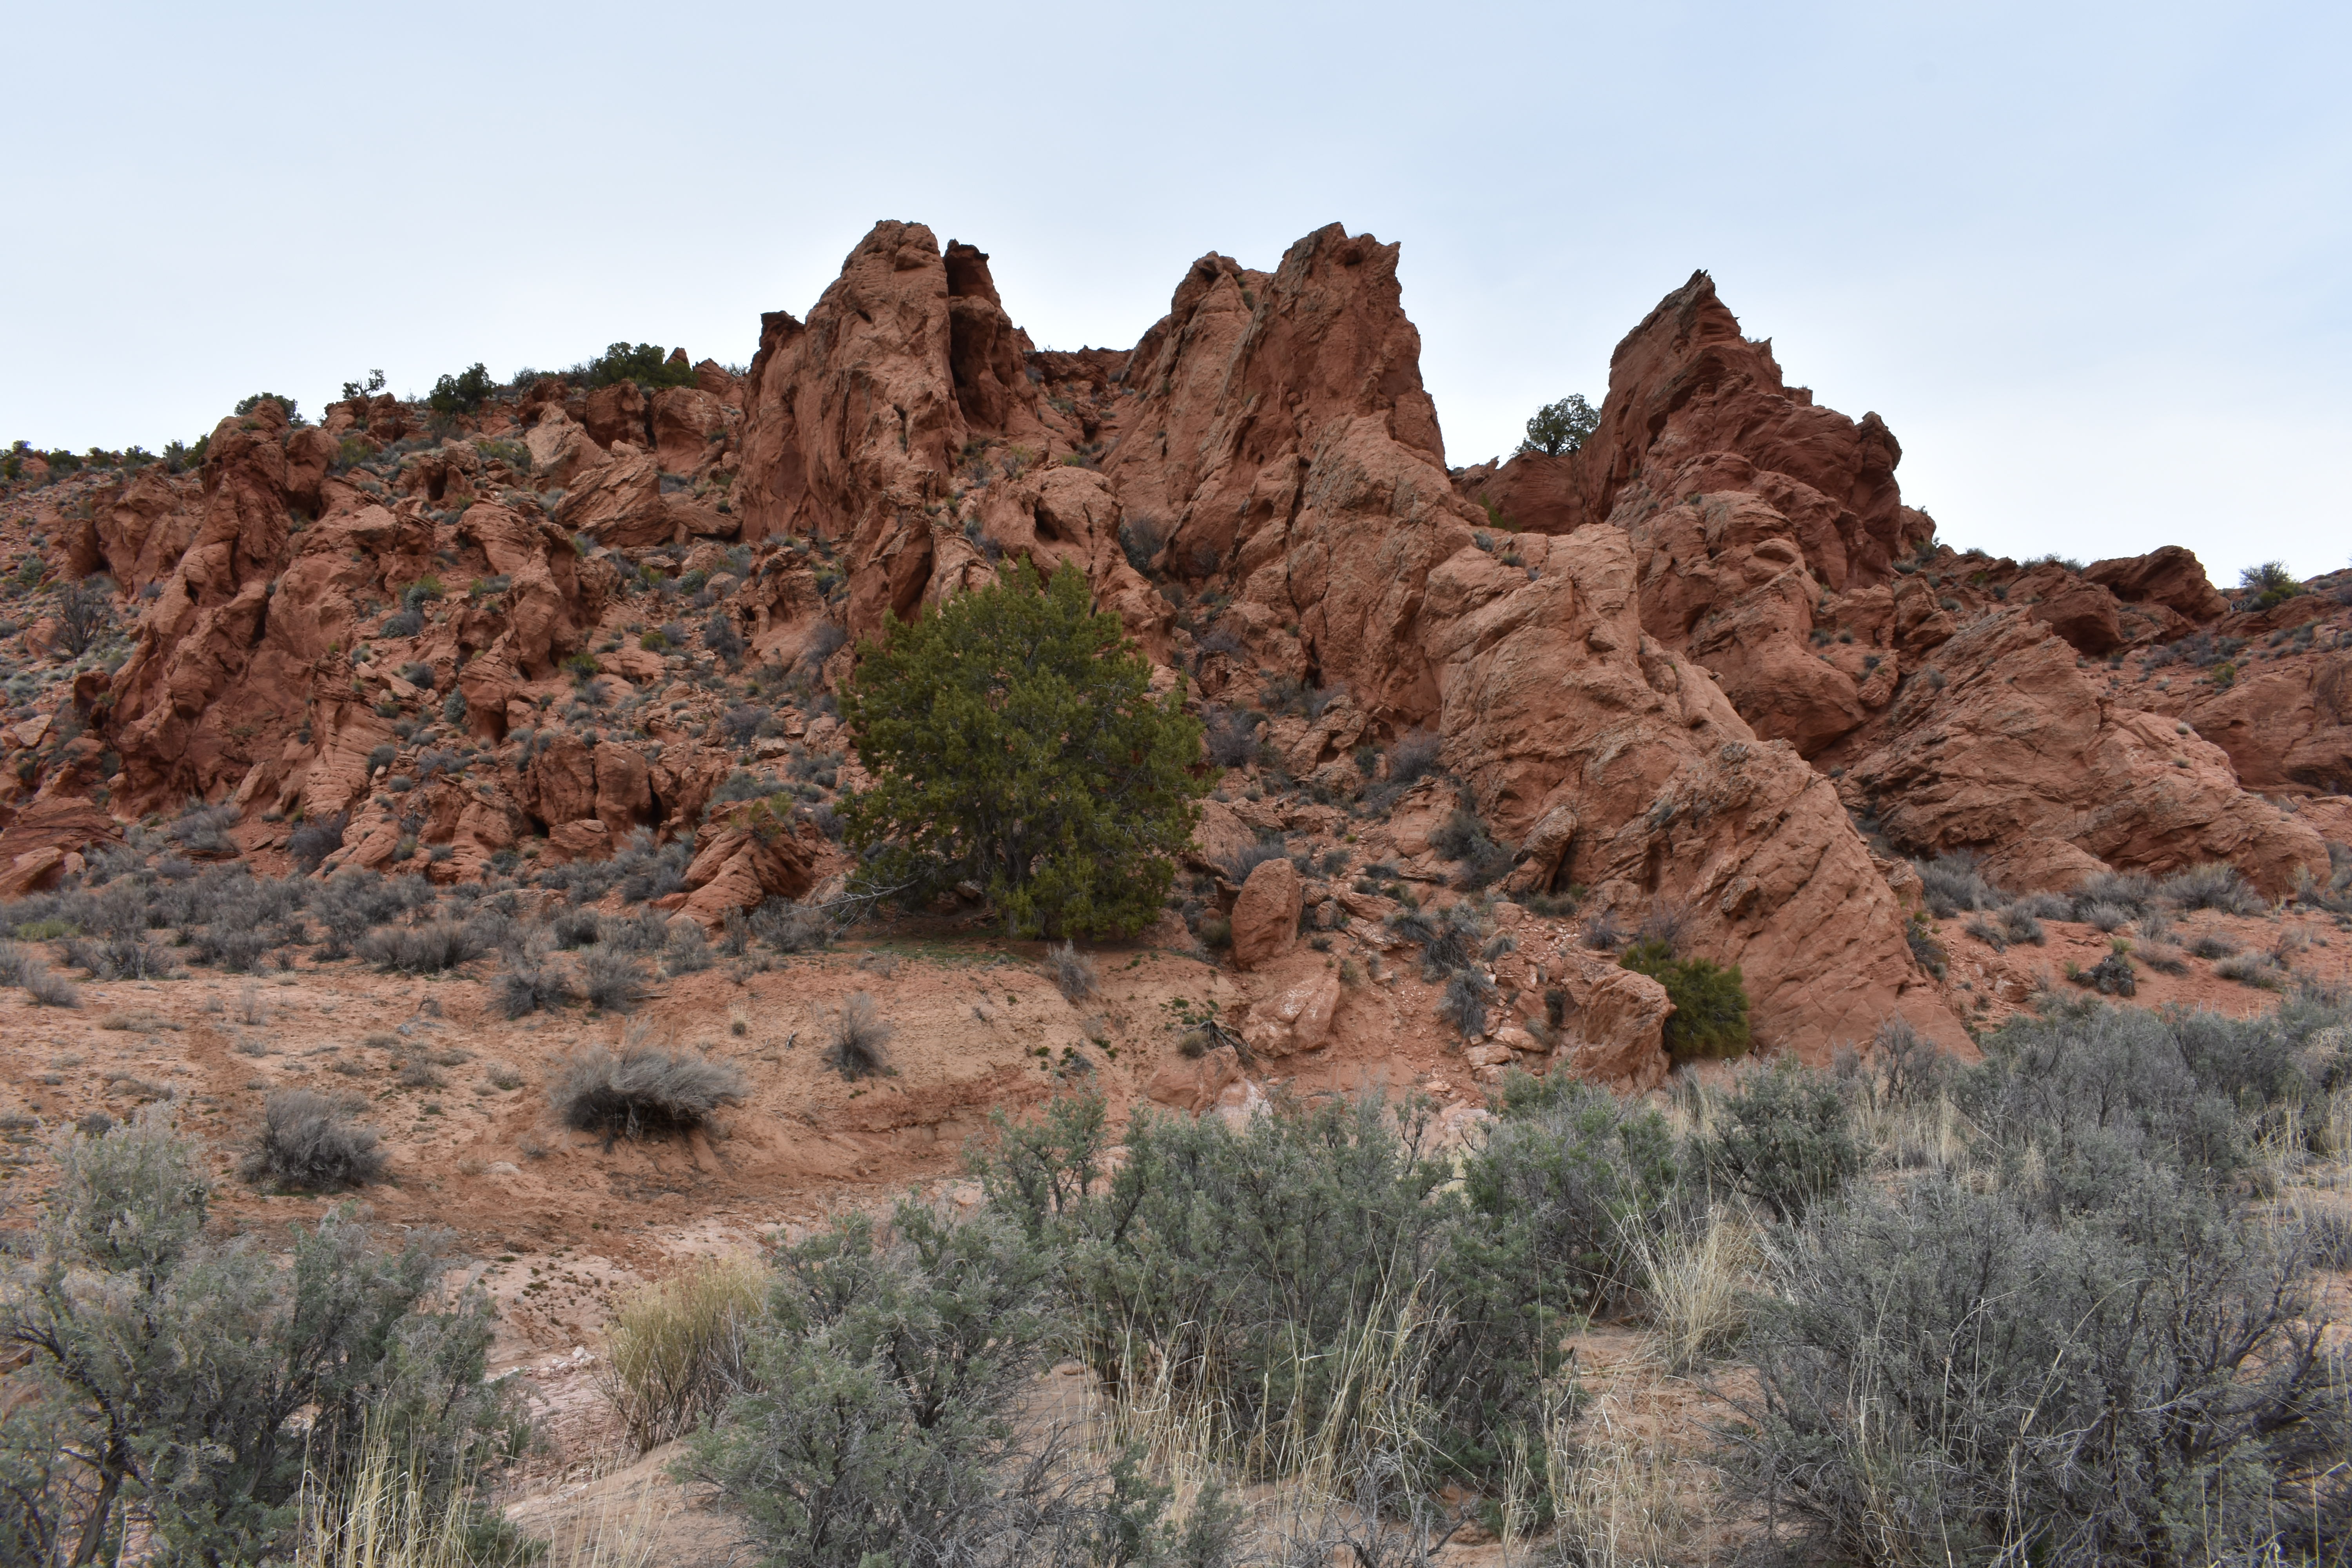
Wire Pass Canyon
Southern Utah is very similar to Arizona in the fact that it is flat and dry, with large rock formations and cliffs jetting out everywhere you look. Here you can find national parks such as Bryce Canyon and Zion National Park. You can also find the famous arches here in the south. Envision red rock and starry skies!
Entrance to Zion National Park
Central Utah is mostly empty space, with charming little towns dotting the sides of the road. Here you are able to see the true character of Utah, in the residents that call these small towns home. Still surrounding you will be gorgeous red rock formations and deserted regions, but ever more trees will begin to appear around you.
Bonneville Salt Flats
Northern region is mountainous and filled with trees, broken up by massive flatlands. Here you will generally see snow on the mountains, if its not snowing on you. This region is more industrious, with Salt Lake City spanning a large portion of the region. Here you can see Salt Lake, and the Bonneville Salt Flats.
Culture shocks
Over 60% of the residents in Utah practice the Mormon faith, so to understand the culture one must really understand this religion, that not only helped to shape Utah’s history, but continues to have a large influence over the state today. Their views are generally conservative and modest, so keep this in mind when you interact with people. As you drive through the state, numerous elegant churches will dot the countryside. If you know very little about the religion, it may be a good idea to study up a bit before visiting.
Camp Food
For the majority of our trip, my travel partner and I ate like royalty. If you plan well, it is easy to eat well for the entirety of your camping trip.
Day 4: Pork Shish Kabobs
At this point in our trip we had already cooked about 2 lbs of pork, with the intent of using it for two dinners and our lunches. This was the second dinner we did. We also had a basic side salad with it, made with romaine, cheese, and ranch Ingredients: – pork hunks – baby potatoes – Sweet peppers – carrots (yes, it actually tasted pretty good) – broccoli – olive oil (Cook pork and veggies separate!) Skewer veggies and pork into desired arrangements. Sprinkle with garlic salt, johnny seasoning, and tajin (or whatever you want, live your life). Drizzle olive oil over the top. Cook on grill or over the fire. If cooking over the fire, be prepared to drizzle olive oil multiple times. Cook until soft and enjoy!
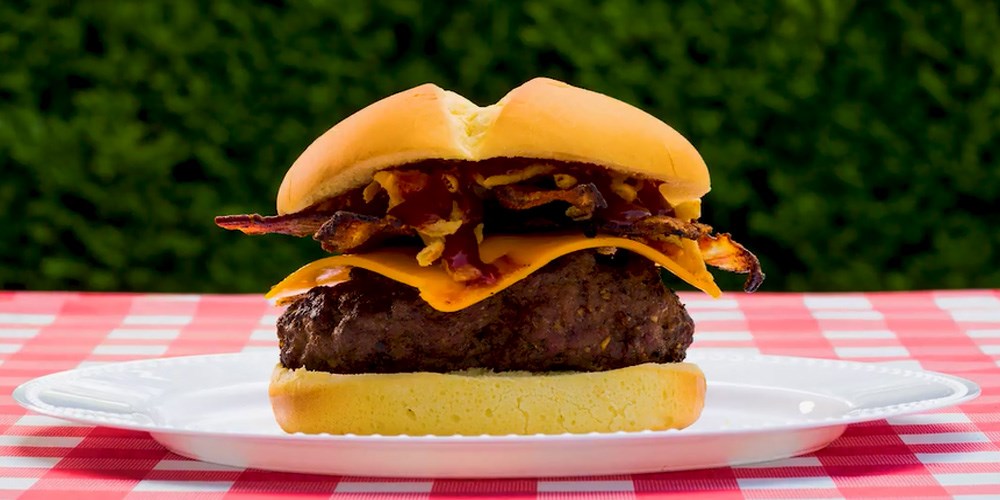
Day 5: Burger and Corn on the cob
Ingredients: – burger patties (or ground beef) – Burger buns – egg – sliced cheese – desired condiments (we just did ketchup) – corn in husk – butter – olive oil Shape burger patties and season with desired seasonings (we used steak seasoning, meat tenderizer, garlic salt, johnny seasoning, and tajin.) Put on grill or over fire. Butter buns and set aside. Place corn with husk on a piece of tinfoil, and drizzle in olive oil (or butter). Wrap in tinfoil and set on grill or over fire, remember to rotate it. Crack egg and cook it over easy. About 2-3 minutes before the patties are done, place cheese on top of them and put buns on the grill to toast. Once done, unwrap and remove the husk of the corn, and butter and season. Put desired condiments on burger and enjoy!
Day 6: Chili Dogs
This meal is perfect if you don’t have access to a bunch of amenities or aren’t camping in a campground. Its easy and doesn’t require a bunch of utensils. Ingredients: – canned chili (You could also make your own chili if you’re into that, we chose for the easy this time) – pork sausages (or beef, you do you) – cheese – egg Cook chili and pork sausages (season how you desire). Fry an egg. In a bowl, place sausage and pour chili over the top. Put egg on top and sprinkle with cheese.
The road trip
We arrived in Utah on day 4 – the first half of the trip was spent in Arizona. I will discuss what we did in Utah in this article, and will talk about the first half of our trip in my next blog!
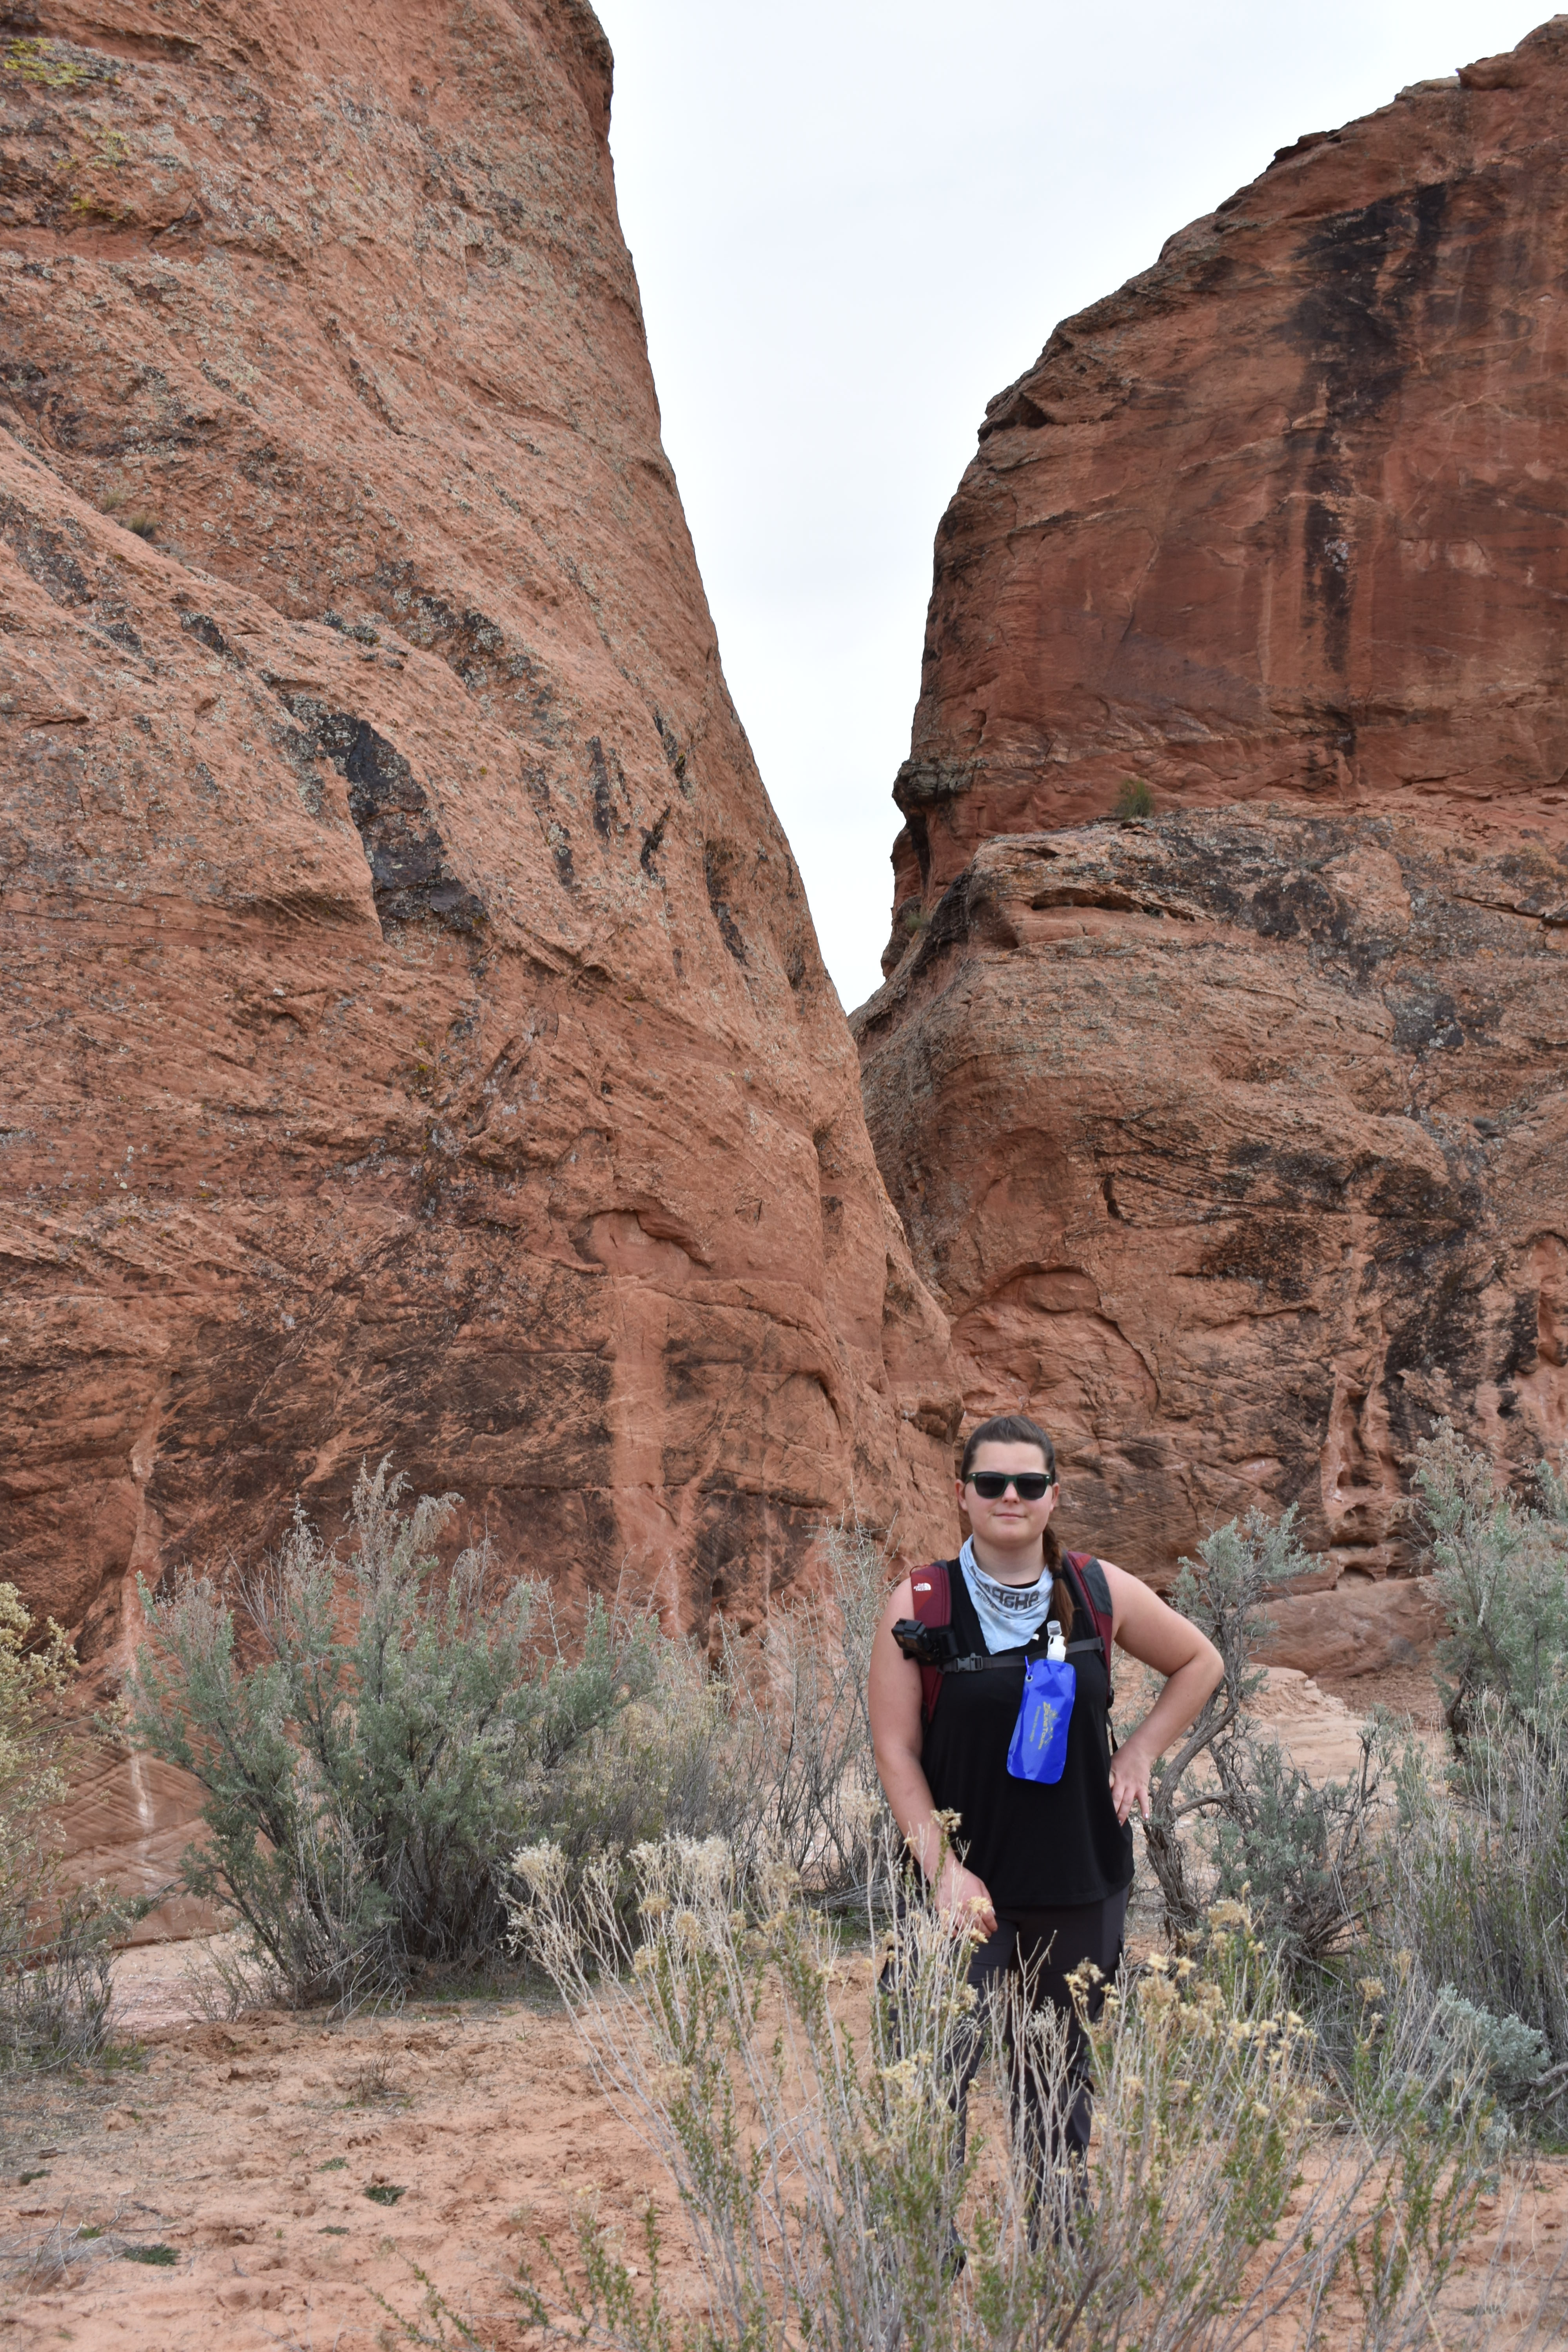
Day 4: Wire Pass/Paria Canyon
Beginning of the Buckskin Gulch hike.
Once you cross the border from Arizona into Utah, you will almost immediately fall into the lap of Wire Pass Canyon (House Rock Valley Rd, Kanab, UT 84741). This region is characterized by gorgeous layered rocks, and crags covering the ground. This is where you can see the famous wave.
We stayed in the white house campground, which is one of the two campgrounds located near the Buckskin Gulch trailhead (the trailhead that leads to the wave). We chose this campsite because we were told that our car, a little Nissan Cube, would be unable to make the drive to the other campsite. Fair warning now, both the campsite and the trailhead require driving over some pretty rough terrain that my car barely made it over. If it had been wet at all, we wouldn’t have made it to either location. Anyways, once you turn at the rangers station and drive down this several mile long dirt road, you reach white house campground. It is a small campground with a vault toilet, fire pits, and picnic tables. There were about 6-7 sites in total, and only two other campsites were filled during our visit.
Though the buckskin gulch trailhead is only about 10 miles away from the campground, it took us about an hour to get there. Looking back, I probably wouldn’t do the drive again with the type of car that I have. This road REQUIRES a 4 wheel drive or all wheel drive car. Something high off the ground with good tires. The other thing to consider is that the hike from the trailhead to the wave is 14 miles. It is not a hike you can do in one day, and will require a backpacking trip to get to the wave. Keep this in mind! Otherwise, the trail is absolutely beautiful and follows the length of the paria river. You’ll see a variety of gorgeous red rock formations and possibly encounter some cows.
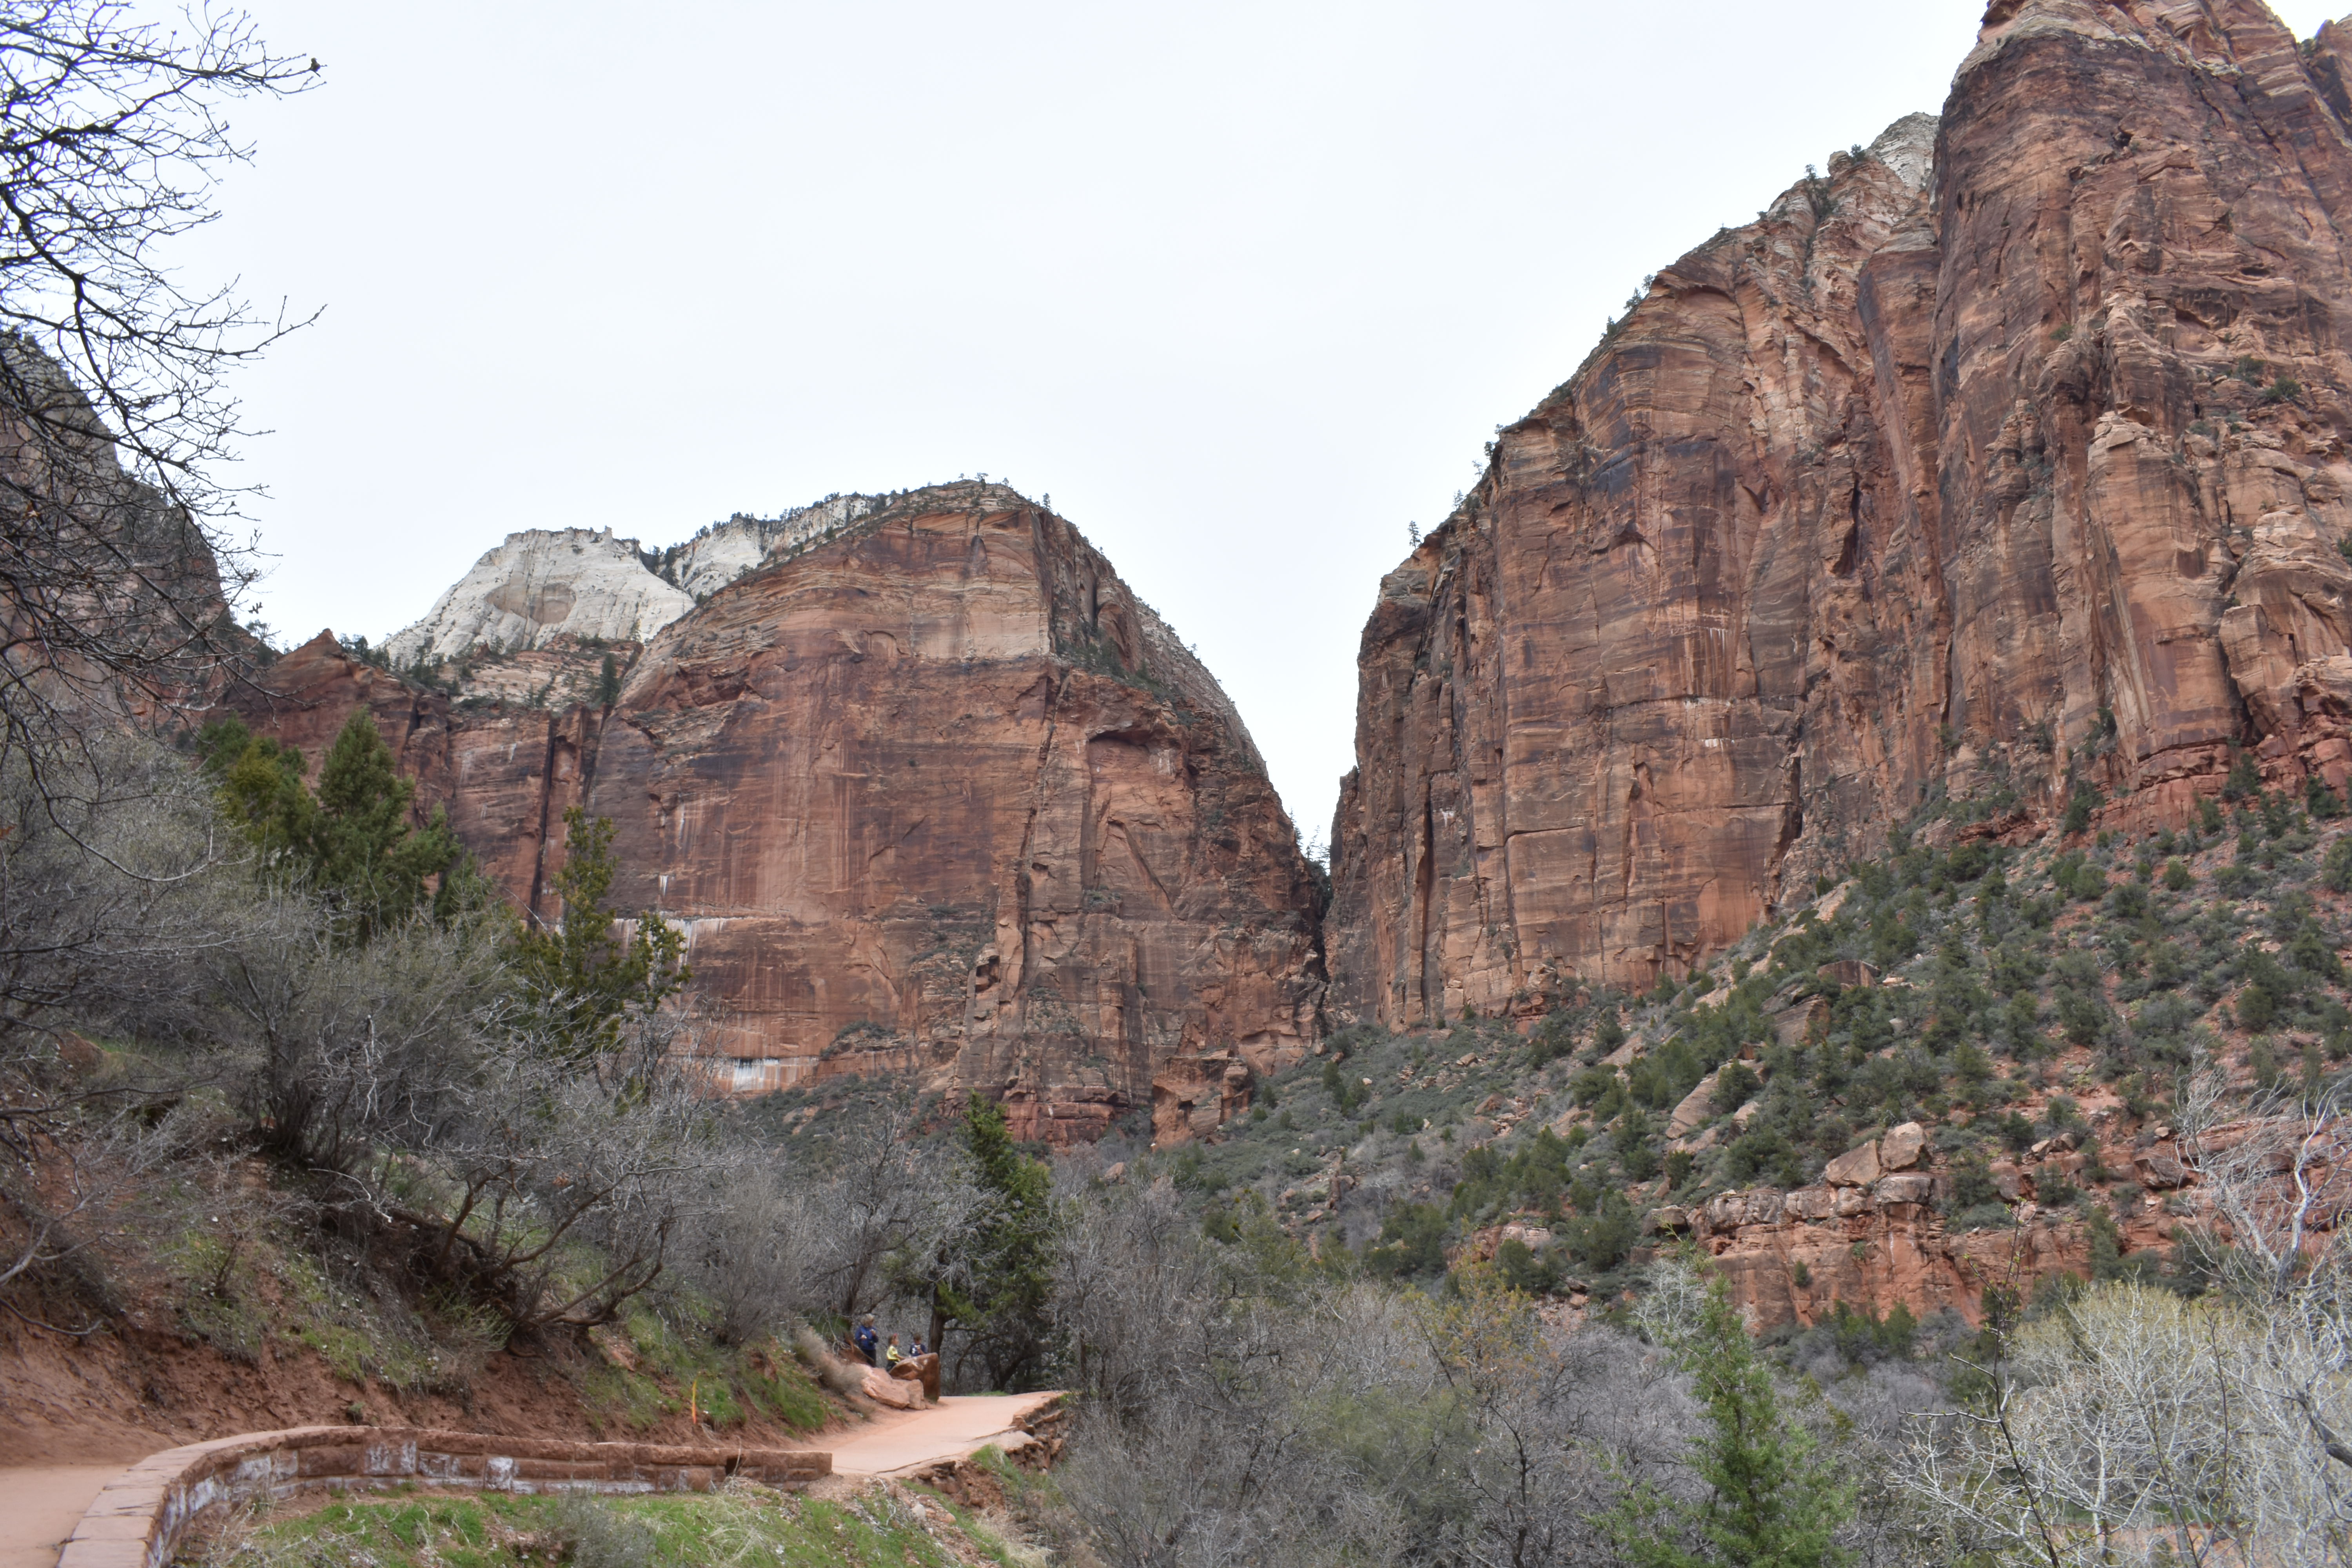
Day 5: Zion National park
The peaks near the entrance of Zion National Park.
As you enter the park, the road will turn from black to red, and the surrounding region will turn from your everyday forest and farmland to massive rock formations jutting thousands of feet out of the ground. You will drive through the base of multiple of these cliffs, and I promise you, that you will be awestruck for the entire drive down into the park. We stayed in the watchman campground, and even though it didn’t have showers, it was a very modern campground with multiple amenities. The campground is well maintained, has a nice bathroom, picnic tables, and fire pits.
To go to any of the hikes you will need to drive/walk from the campground to the visitors center, which is just before the watchman campground. Here you can take a bus to the various trailheads throughout the park. The longest you will ever wait for a bus is 15 minutes, but be aware of when the buses stop running so you don’t have a long and miserable hike back to your campsite.
Due to time constraints, we did two smaller hikes instead of the longer Angels Rest that we wanted to do initially. We were also limited by weather, which had closed some of the other hikes we had been interested in, but regardless, we weren’t disappointed. Our first hike was the lower emerald pools hike. This is basically paved uphill walk thats about a mile long, but the end scene is well worth it. You walk behind a waterfall that is showering down over one of the numerous red cliffs, and are overlooking the gorgeous emerald pools.
The second hike we did is the riverside walk, which leads to the entrance of the Zion Narrows trail (unfortunately closed due to rain when we visited). This was a pretty hike, about two miles roundtrip or so, that winds along next to the river. It keeps you close to the base of some of the massive cliffs in Zion, and allows you to see some of the hanging gardens that are caused by trickling water down their fronts. The end of the hike leads you to the river at the entrance of the zion narrows, and leaves you at a rocky “beachfront” area.
Secret tip: Towards the beginning of the hike, you can see a massive waterfall on the other side of the river. During the summer months when there is less rain, this waterfall may be more accessible, but when we went, the river was swollen and rapidly racing by. Regardless, I made the trek across and it was WELL worth it. If you manage to make it across and make the hike up to the waterfall, you will have a private experience in which you can stand at the base of the waterfall and feel the water splashing down upon you. If you are physically capable of making the journey, I highly recommend it. Crossing at the widest point of the river seems counterintuitive, but actually was the easiest place to cross.
Day 6: Diamond Fork Hot Springs
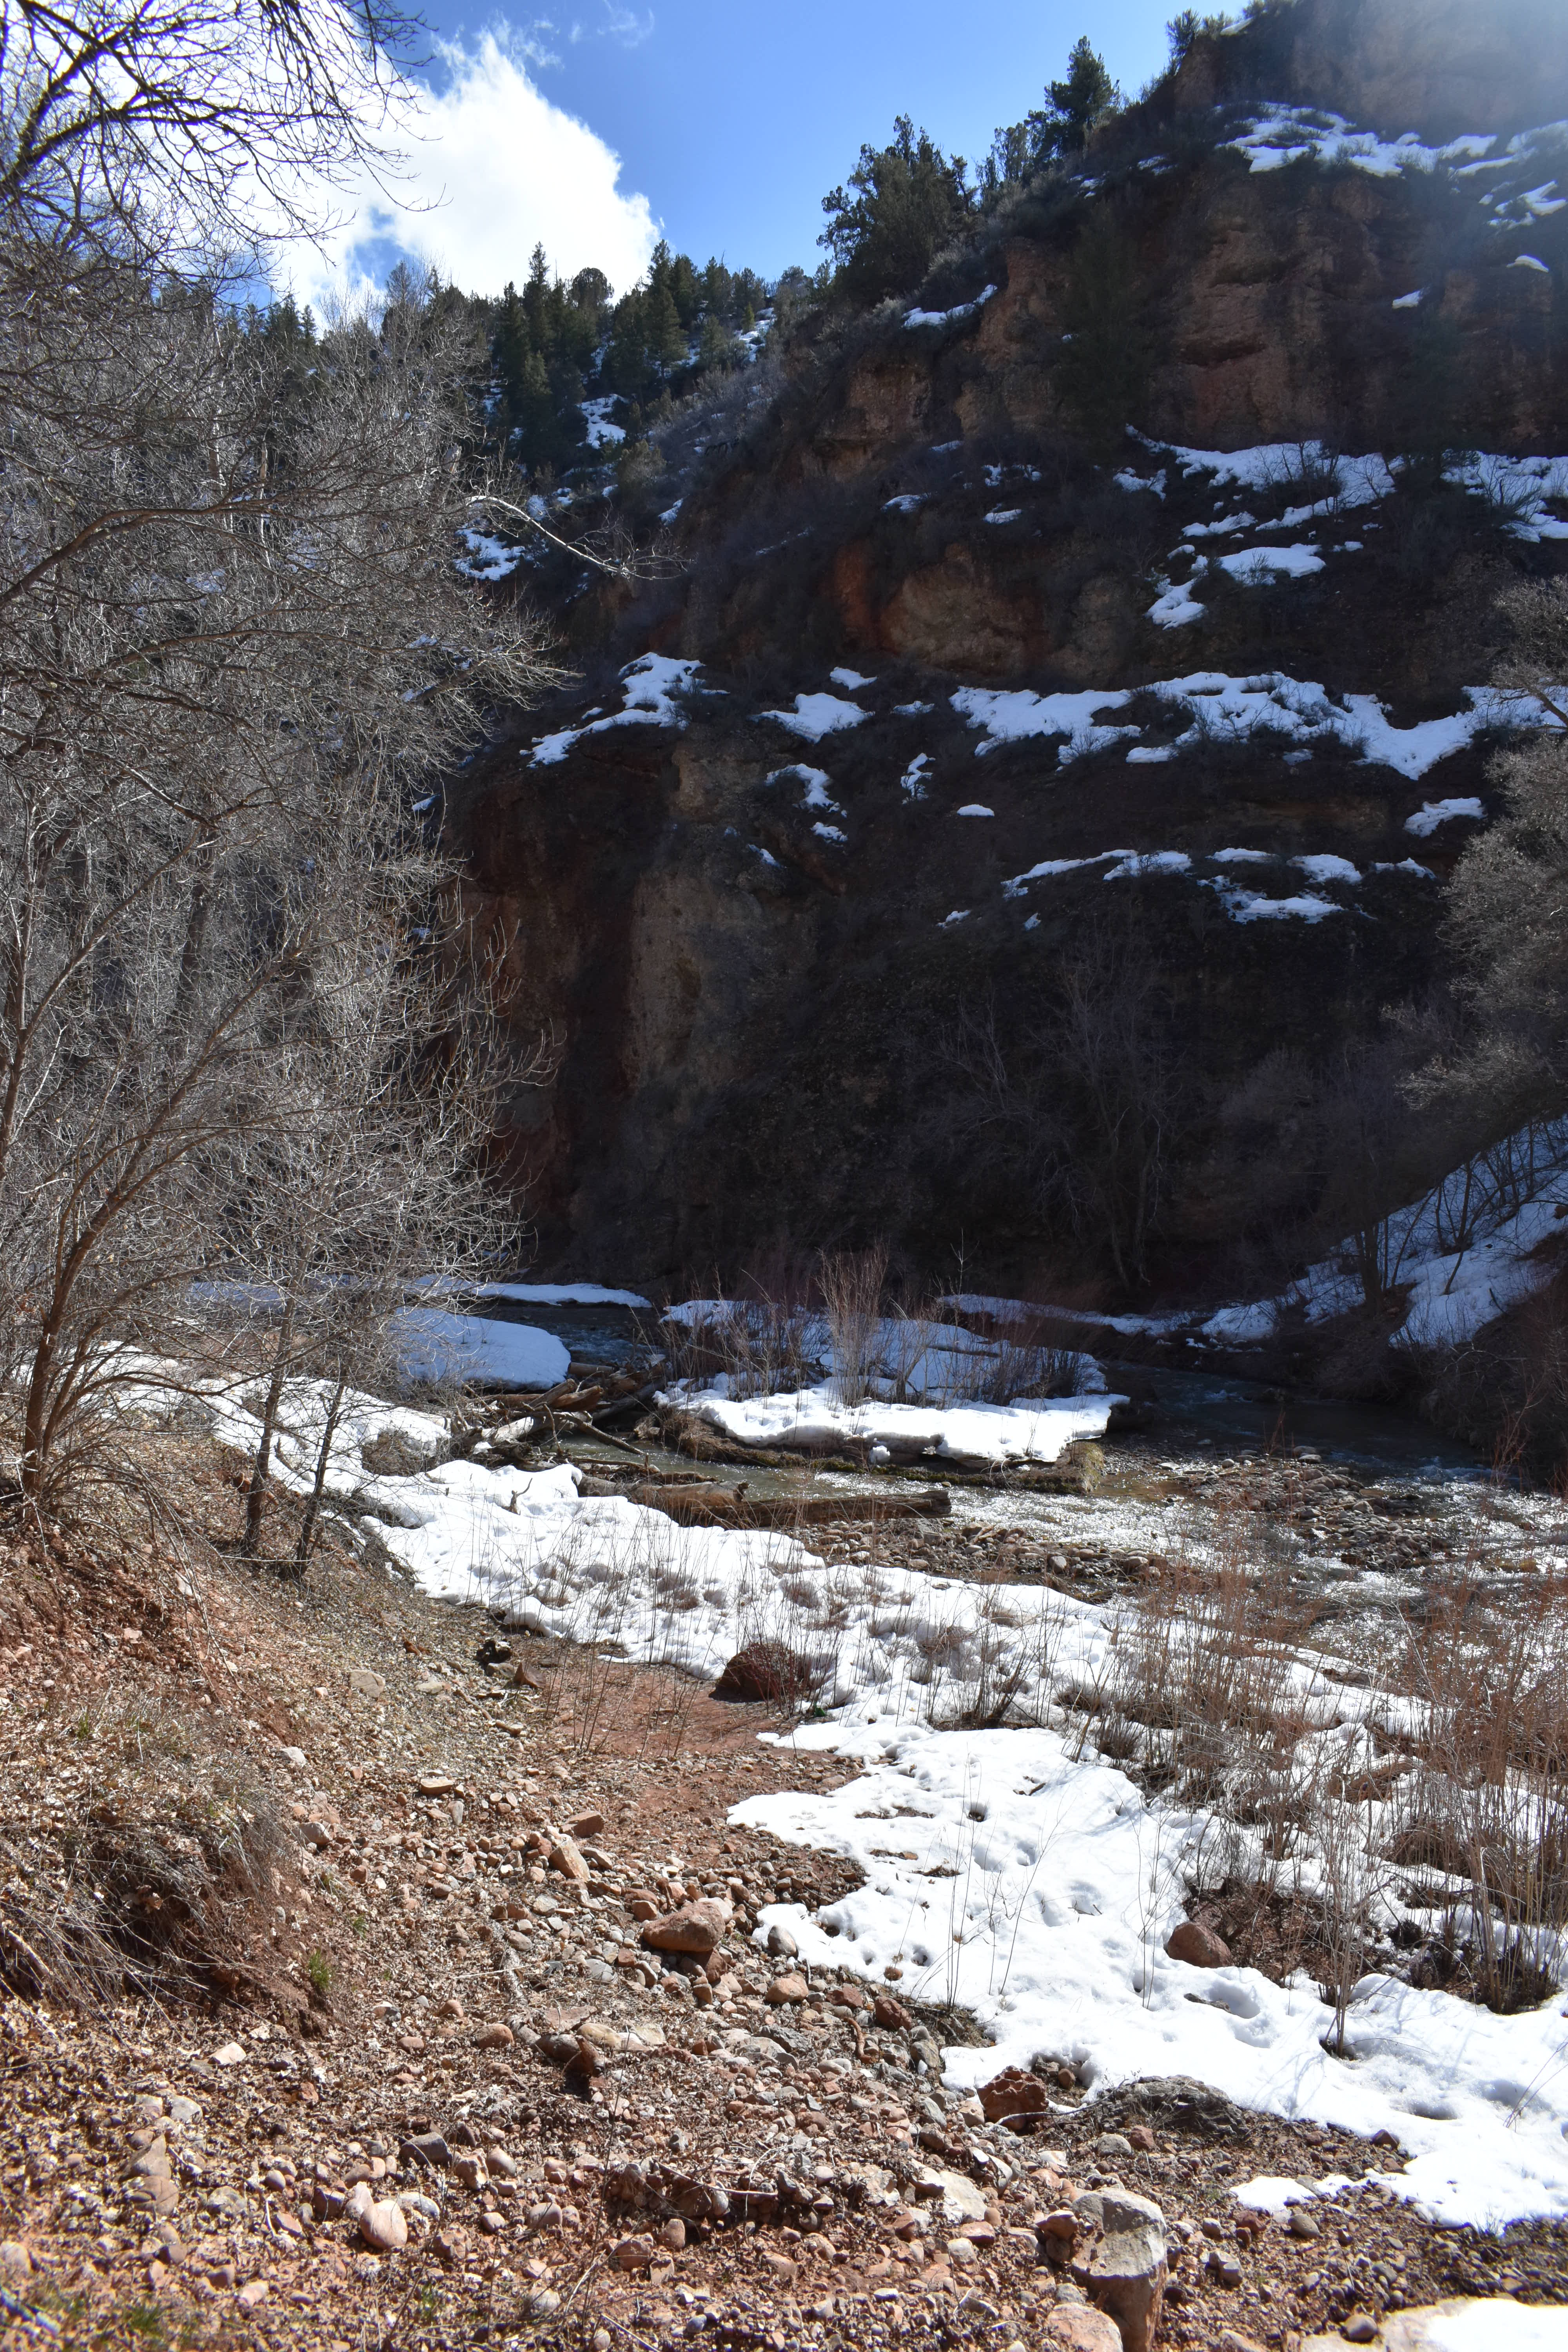
Early section of the Diamond Fork hike.
Up in the depths of the mountains in northern Utah, you can find Diamond Fork Creek. Most likely, snow will litter the ground around you, with evergreens withstanding the cold. if you are lucky, you may see a stray moose dipping into the icy river for a drink. You may even hear the wild call of a flock of turkeys. As you drive along, you will see a few remote campgrounds to stay in. These are good options as they have paved pads for a tent, fire pits, and picnic tables. They also have one set of vault toilets towards the entrance of the campground.
From the campground, you can drive up to the Diamond Fork Trailhead. Often, a part of the road may be closed and add a few miles to your total hike. When we went, two miles of the road were closed, practically doubling our total hike time. Theres a nice little parking lot that you can leave your car at, and start your hike. You’ll know you’re at the trailhead when you reach a snow-covered parking lot that hosts a public bathroom and a map of the hike. If you are heading out any time close to winter, you will need crampons to complete this hike. Even in the beginning of April, huge portions of this hike were covered in snow. Mix this with the steep slopes of portions of this hike, risk of slipping can be very dangerous.
The hike is very pretty, with evergreens surrounding you and the beautiful river flowing adjacent to you. As you get farther in the hike, the smell of sulfur will grow stronger and stronger. Eventually you will find yourself at the base of a waterfall that leads to a number of different pools, all steaming hot. The closer you go to the waterfall, the warmer the pools will be. A great way to experience these pools is to start at the lowest one and work your way up.
Note: Make sure to drink plenty of water on this hike. If you do end up having to hike the extra two miles of road, this hike is approximately eight miles round trip – not some walk in the park. The heat of the pools leads to risk of heat exhaustion, especially if it’s a sunny day. Be prepared! Also, be wary of snow, it snowed two inches on us overnight here!
Day 7: Bonneville Salt Flats
Waterlogged Bonneville Salt Flats.
We didn’t actually stay in the area of the salt flats, but rather just checked it out on our way back home. It is easy to see the entrance to the flats from the road. There are a few bathrooms and large posters explaining the history and importance of the salt flats. As you walk up to the salt flats, you will see large fields of white. When we arrived, it had recently rained, turning the flats into what looked like a mirror.
You can taste the salt in the air, and if you glance at your car you’ll see flecks of salt covering it. We managed to scoop up a few cups of salt to take home for gifts, and I was glad we made the stop. Not a place interesting enough to stay overnight, but a good stop on your trip! If you do manage to go during summer, you may be fortunate enough to catch Speed week. This is a week where speedsters from all over come to race down the flat’s salty surface. A competition that originates from the early 1900’s, this could be a fun experience to say the least!
I hope you all found this information helpful! Until next time, live free my fellow travel bugs!